This illustrated USB-cover repair guide applies to G1. It does not describe a G2 repair.
If you have G2, use the G2 manual or contact support about a damaged cover. Follow the G2 manual for its detachable battery and supplied removal tool.
G1 USB-cover replacement
ARTICLE SUMMARY
⪻Where to purchase an extra USB-cover?⪼
⪻How-to proceed installing a new USB-cover?⪼
WHERE TO PURCHASE AN EXTRA USB-COVER?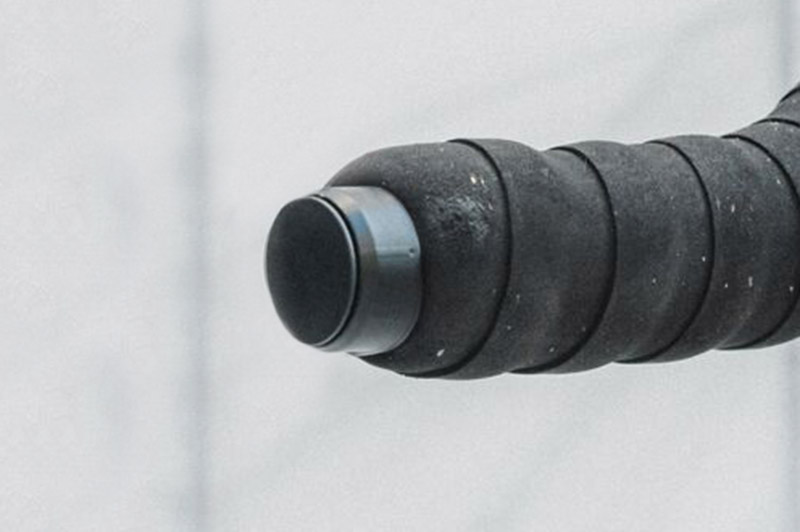 You may purchase an extra USB-cover here.
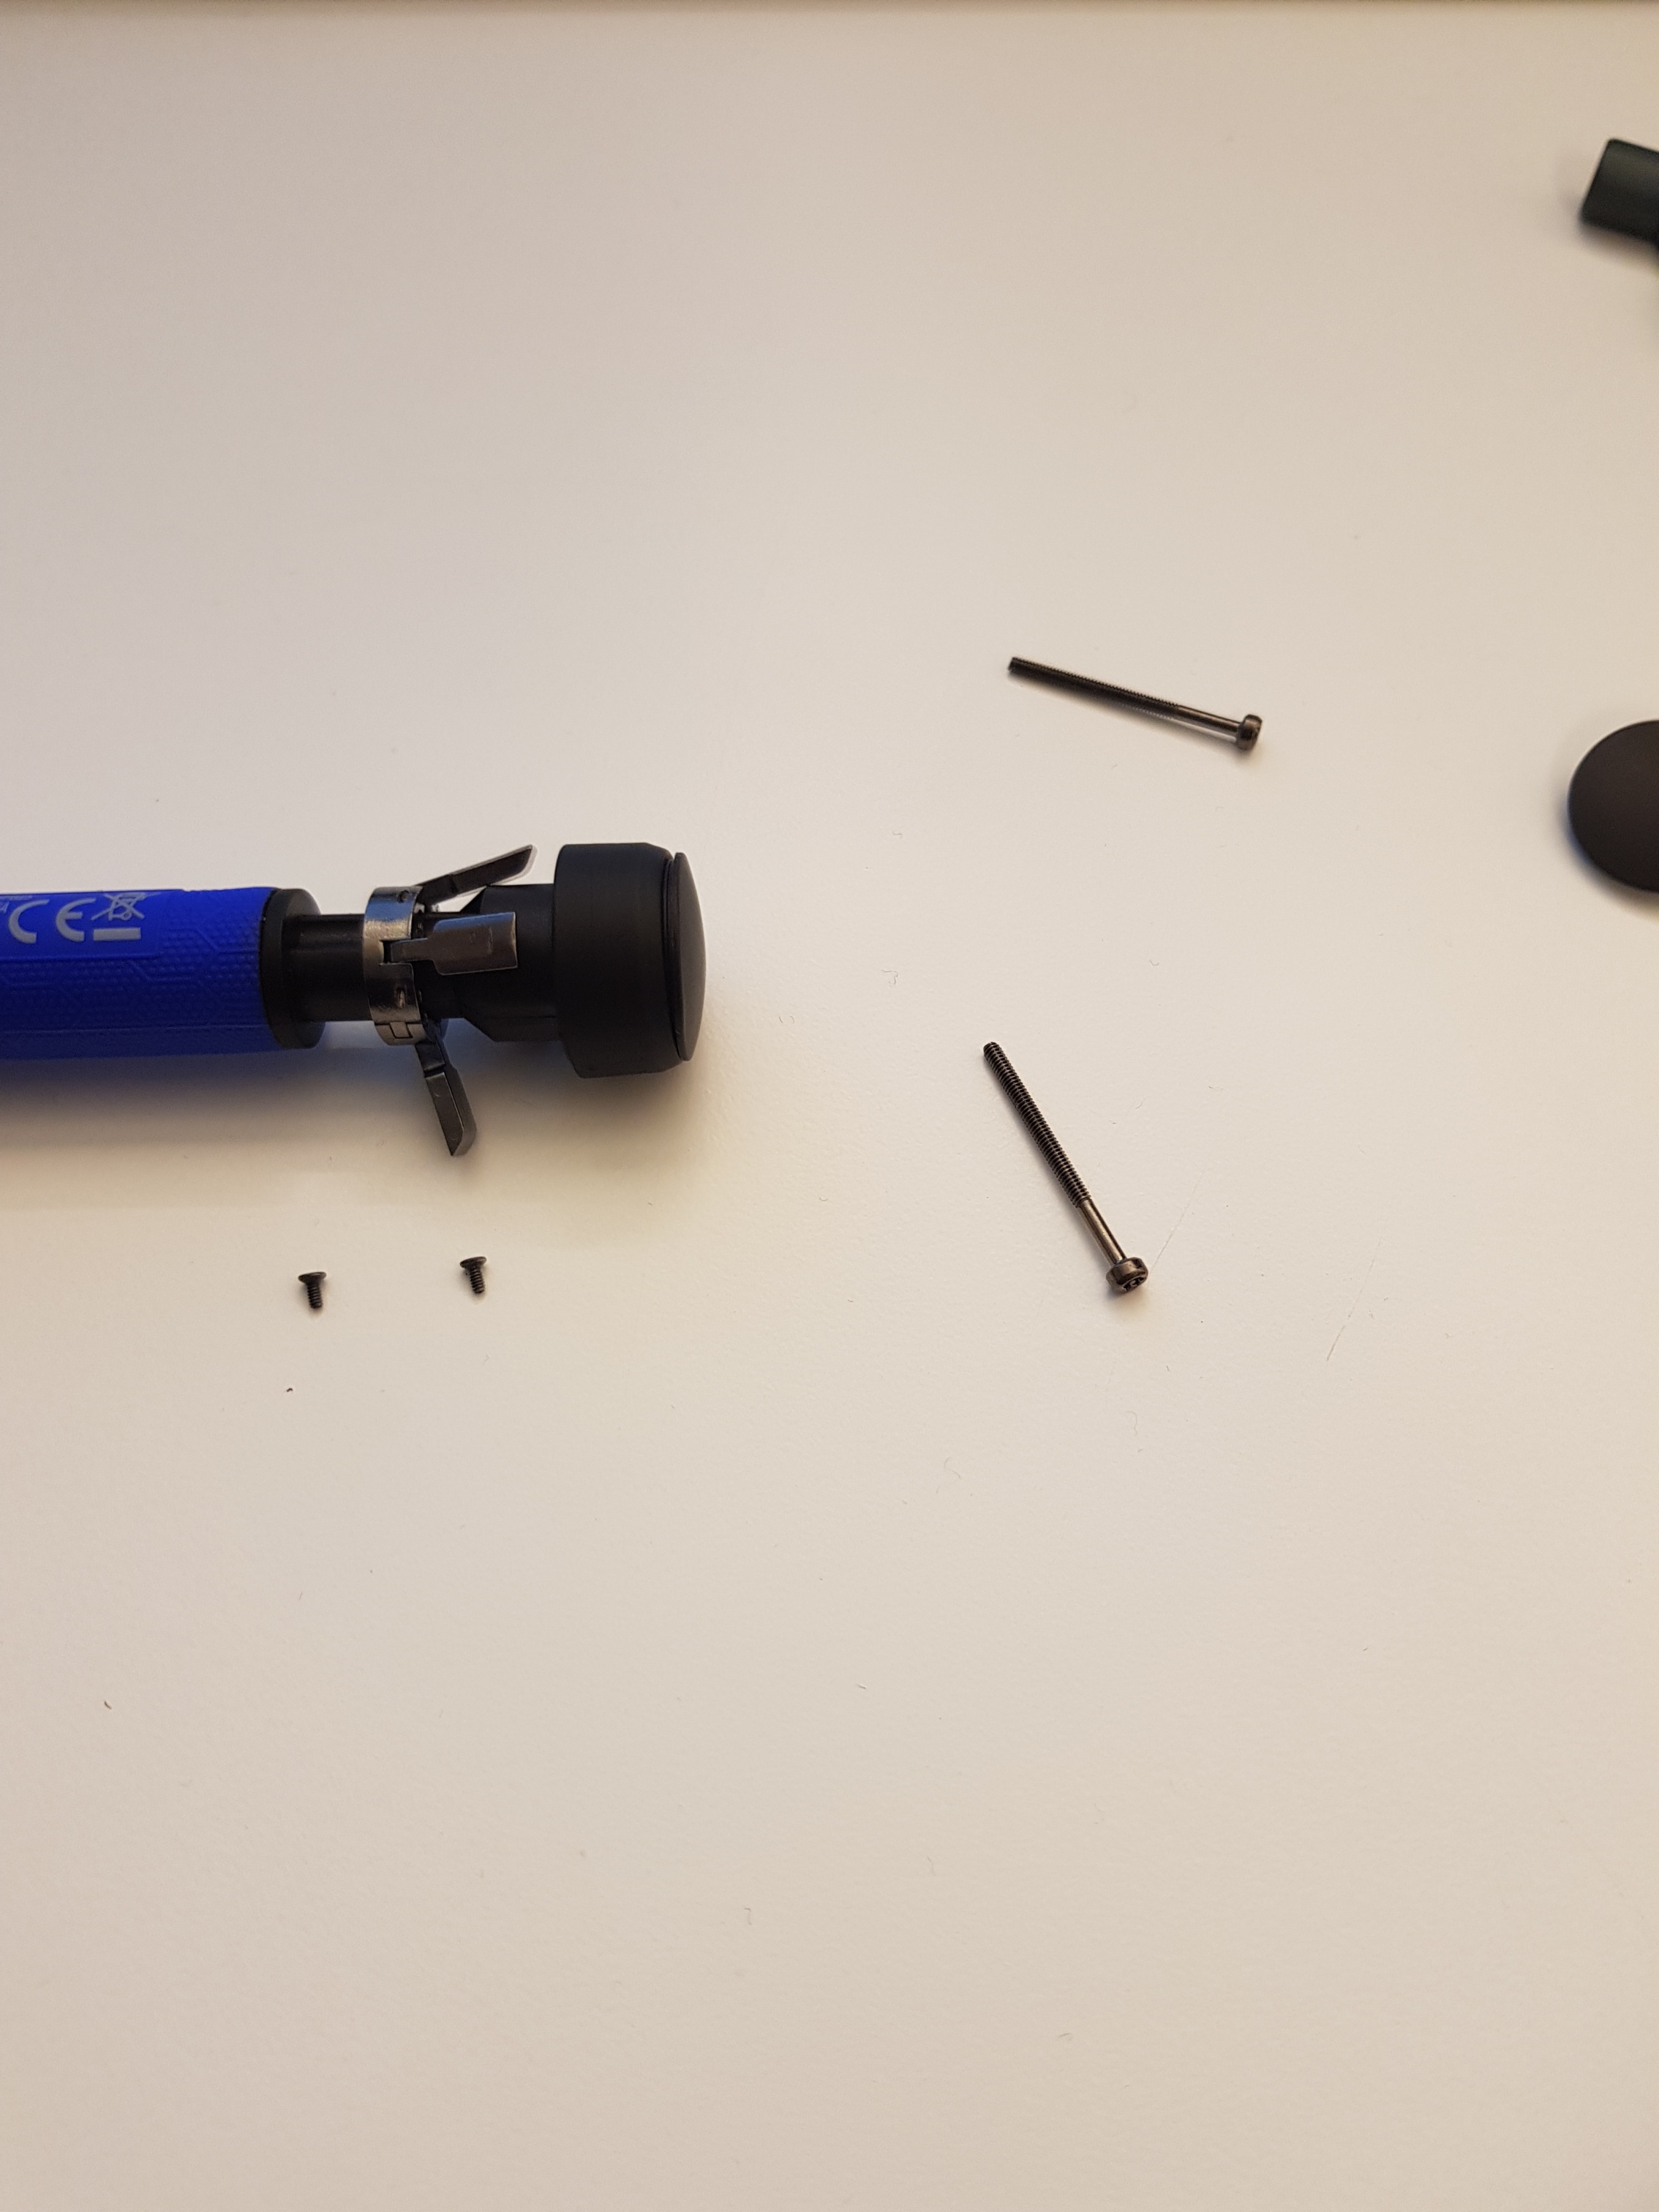
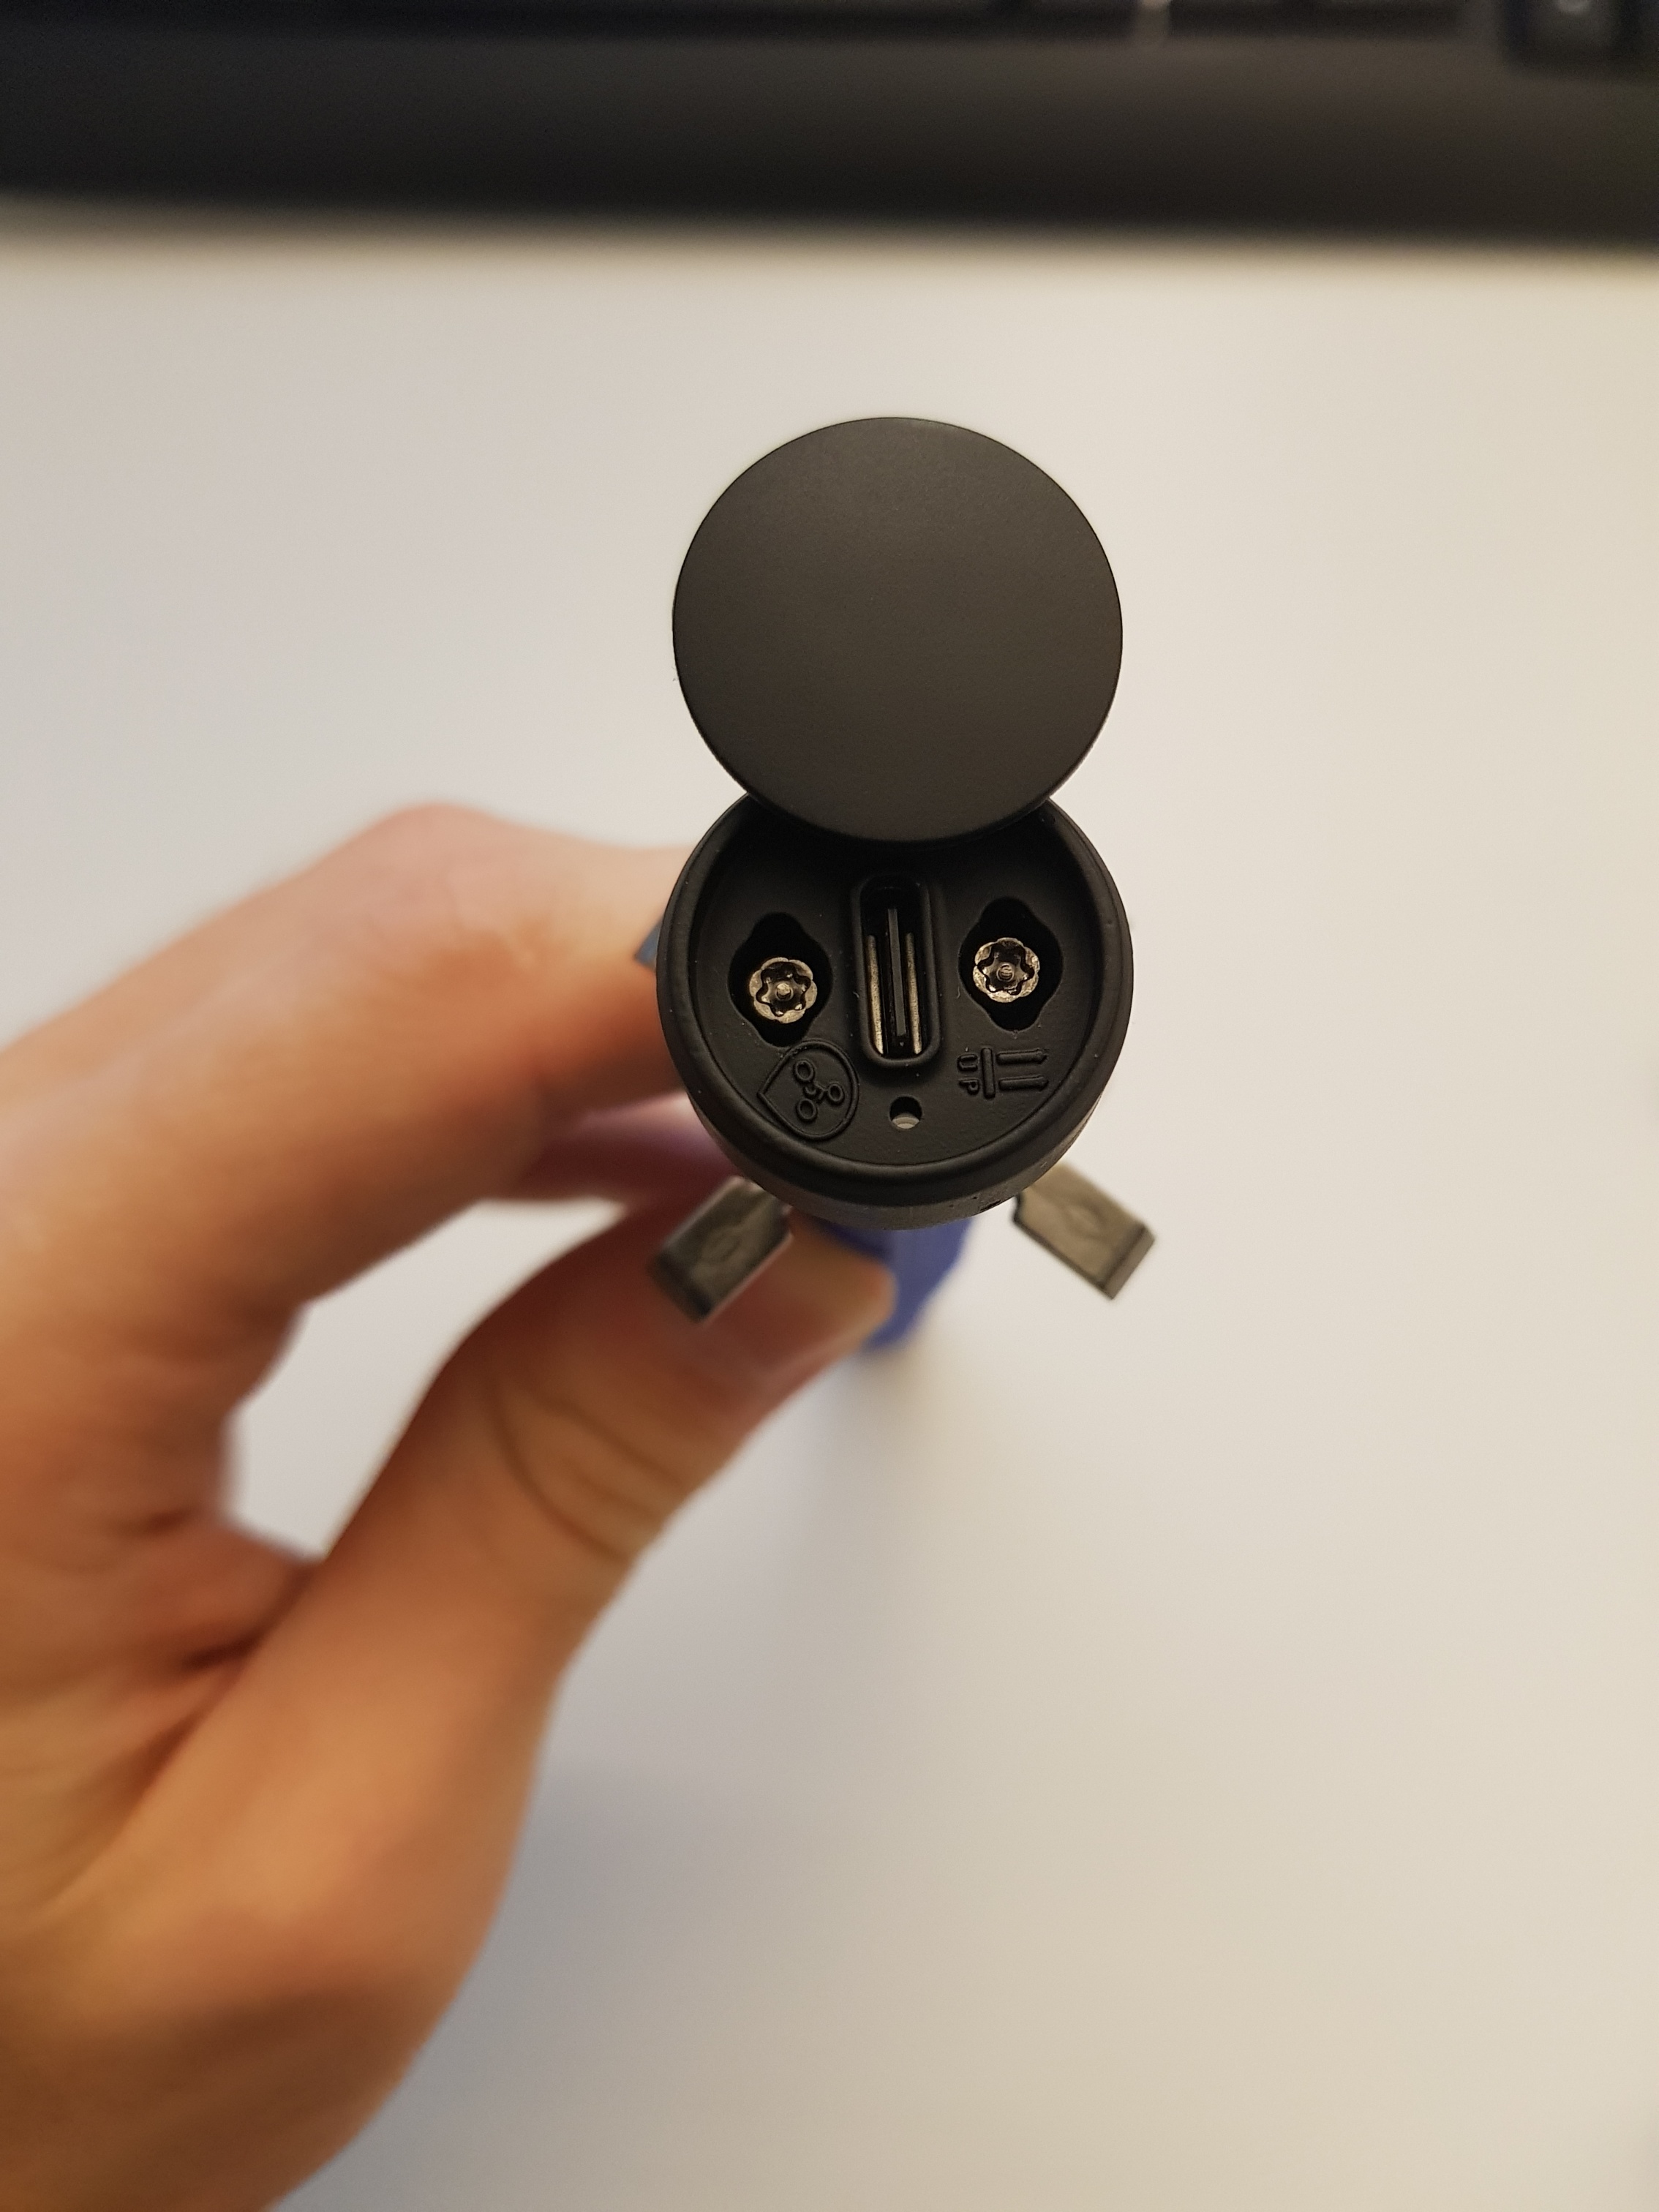
HOW-TO PROCEED INSTALLING A NEW USB-COVER?1. You start off by removing the two big screws inside the top of the Bikefinder.
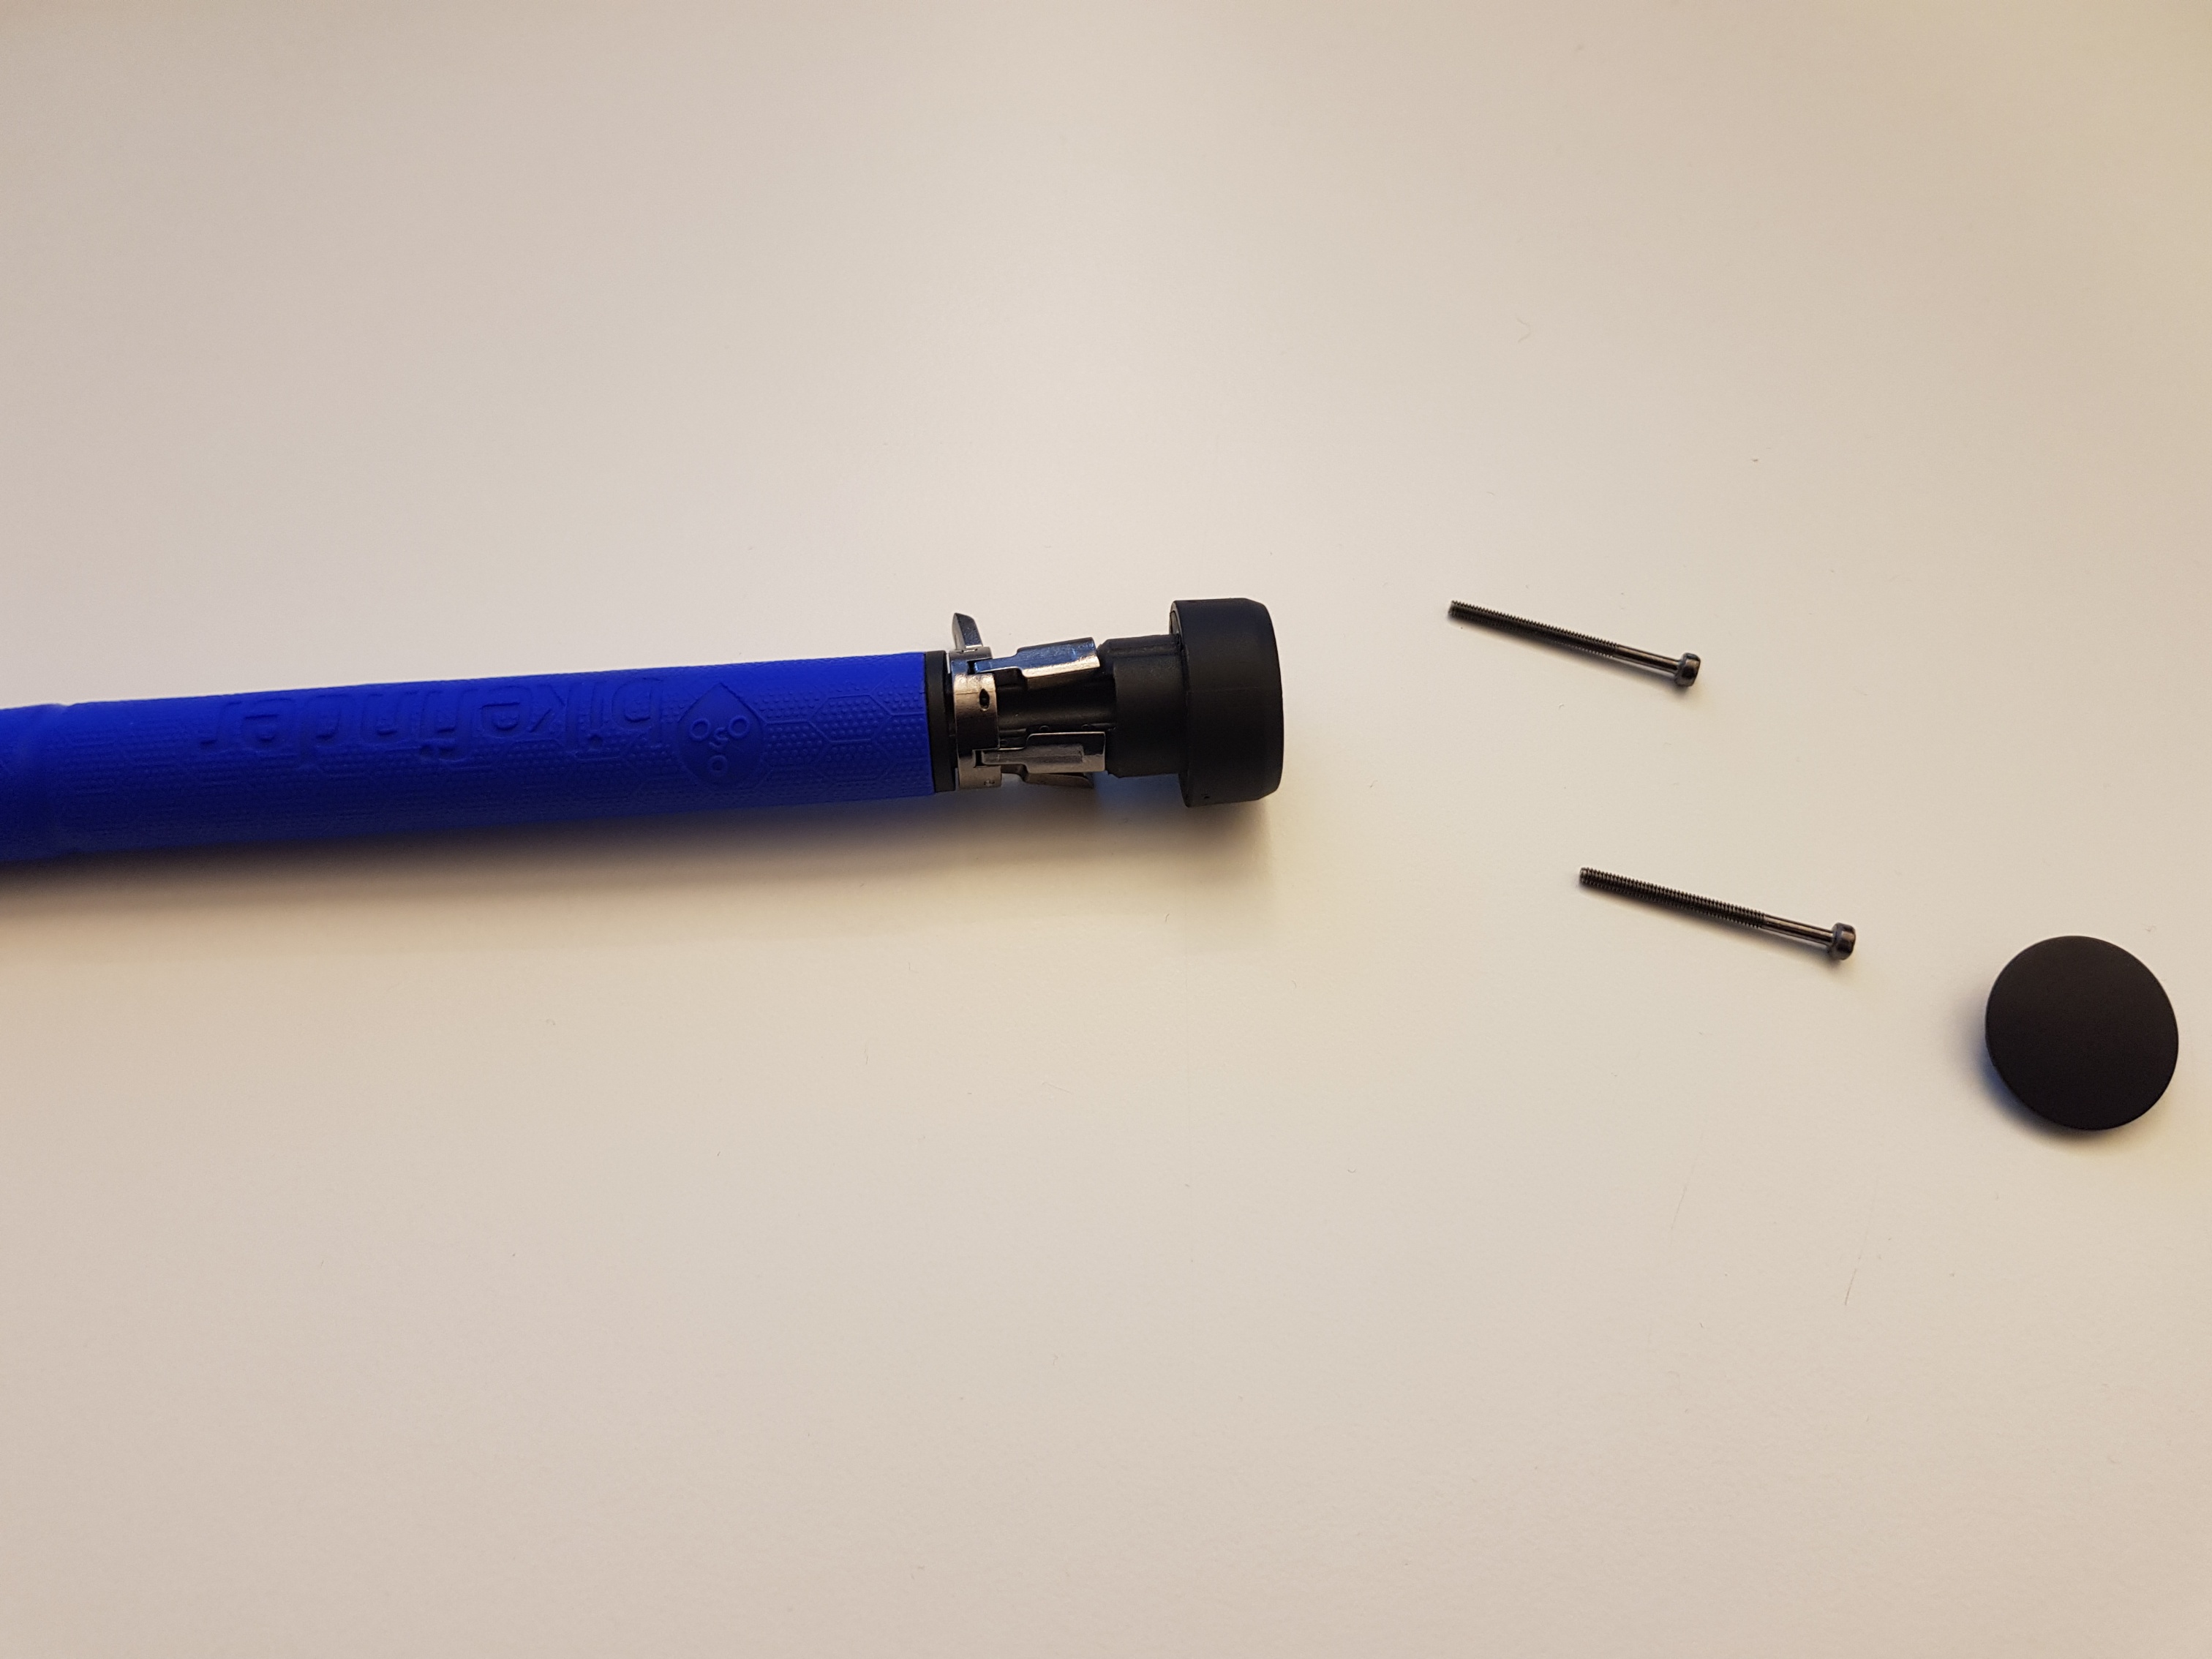
2. You then remove the two small screws under the head of the Bikefinder.
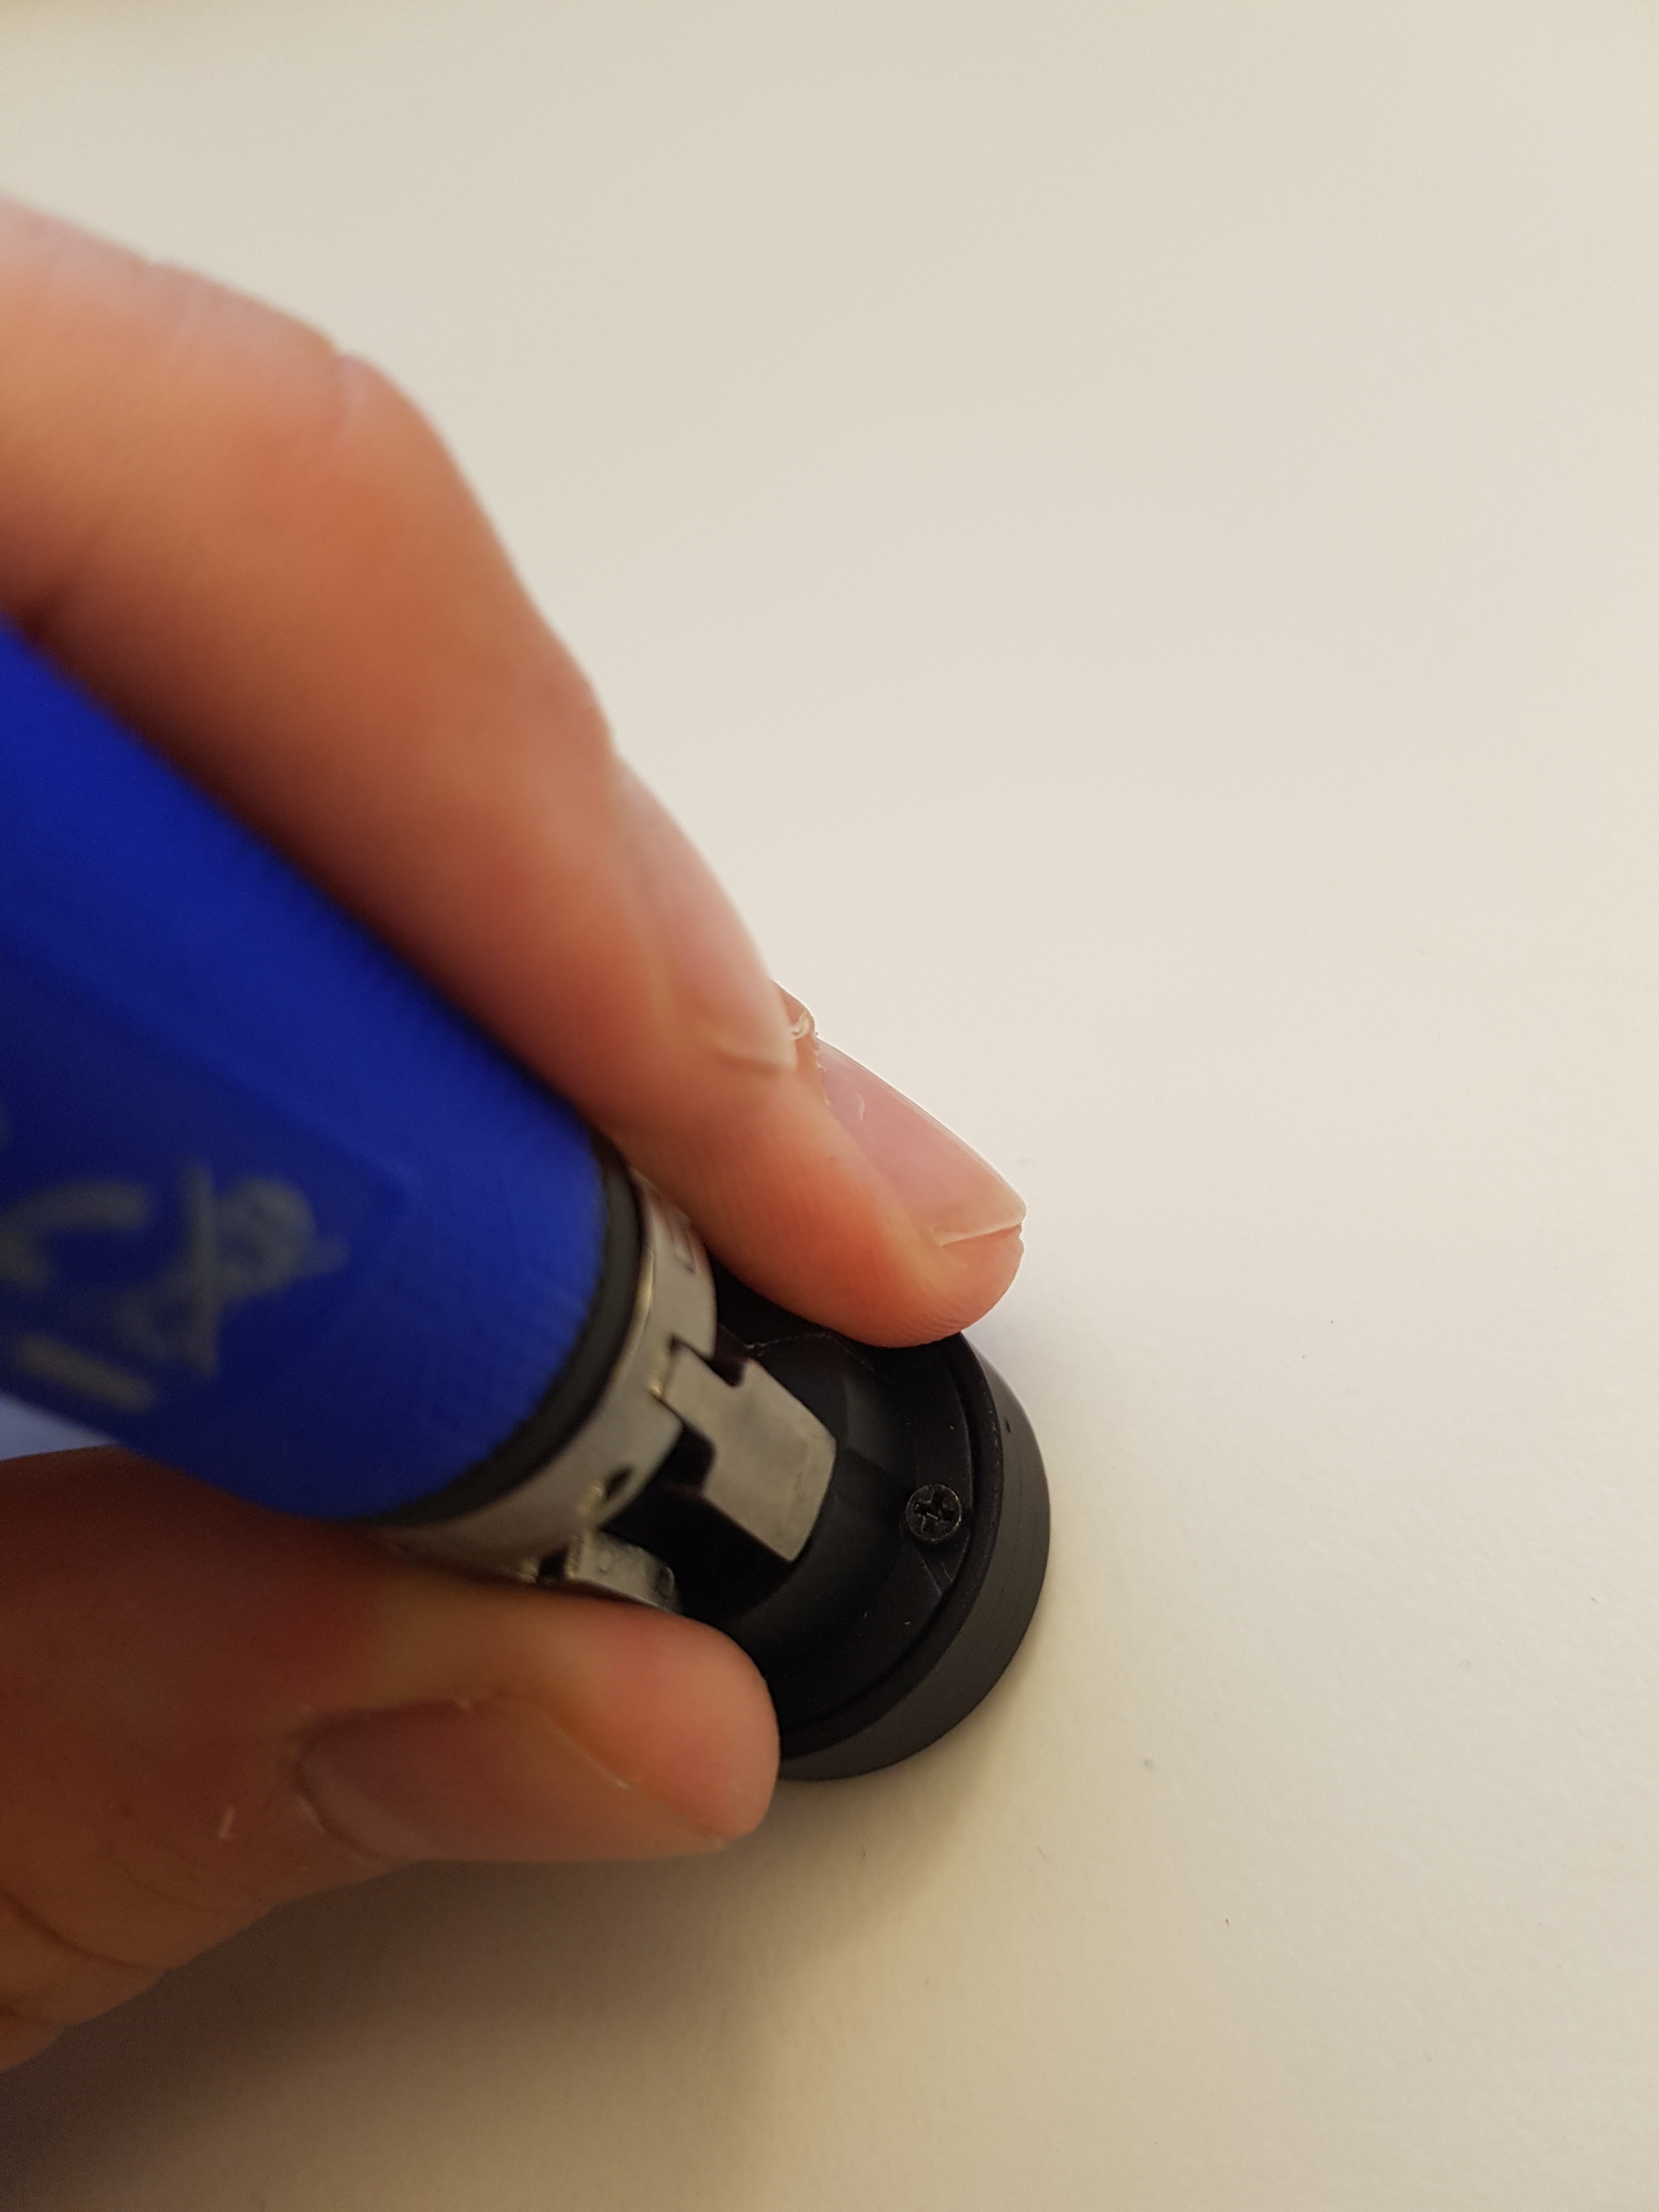
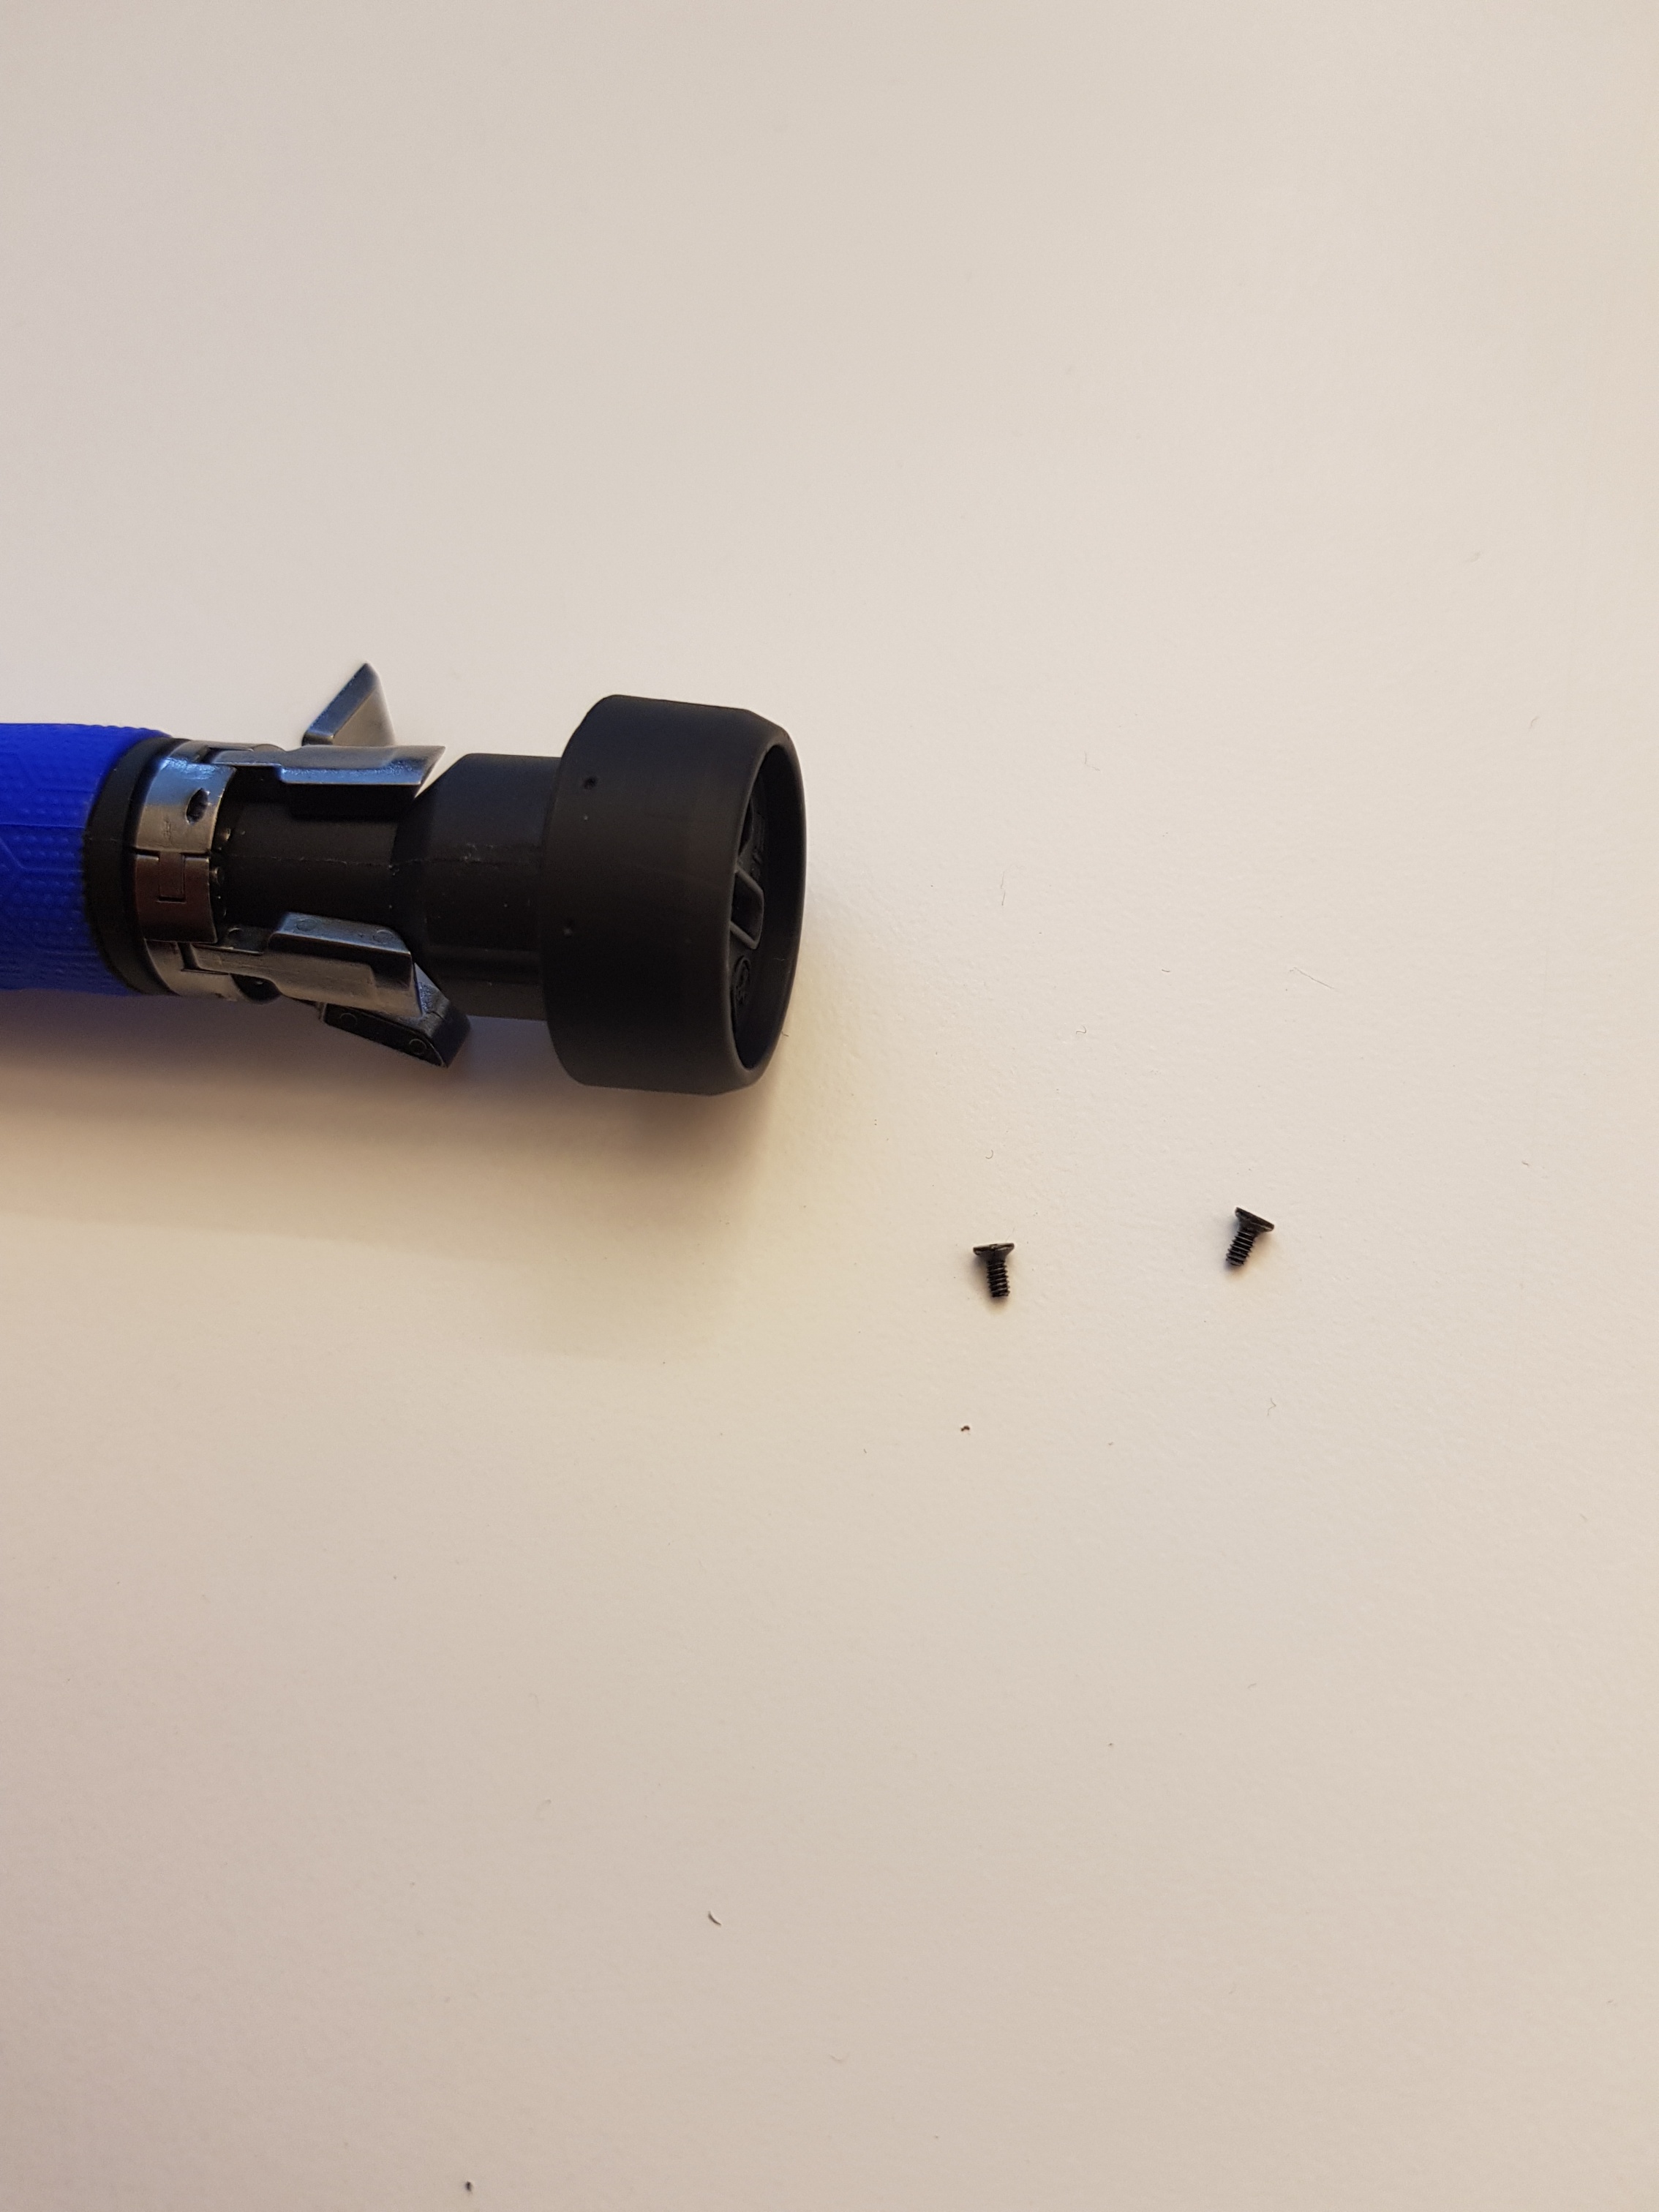
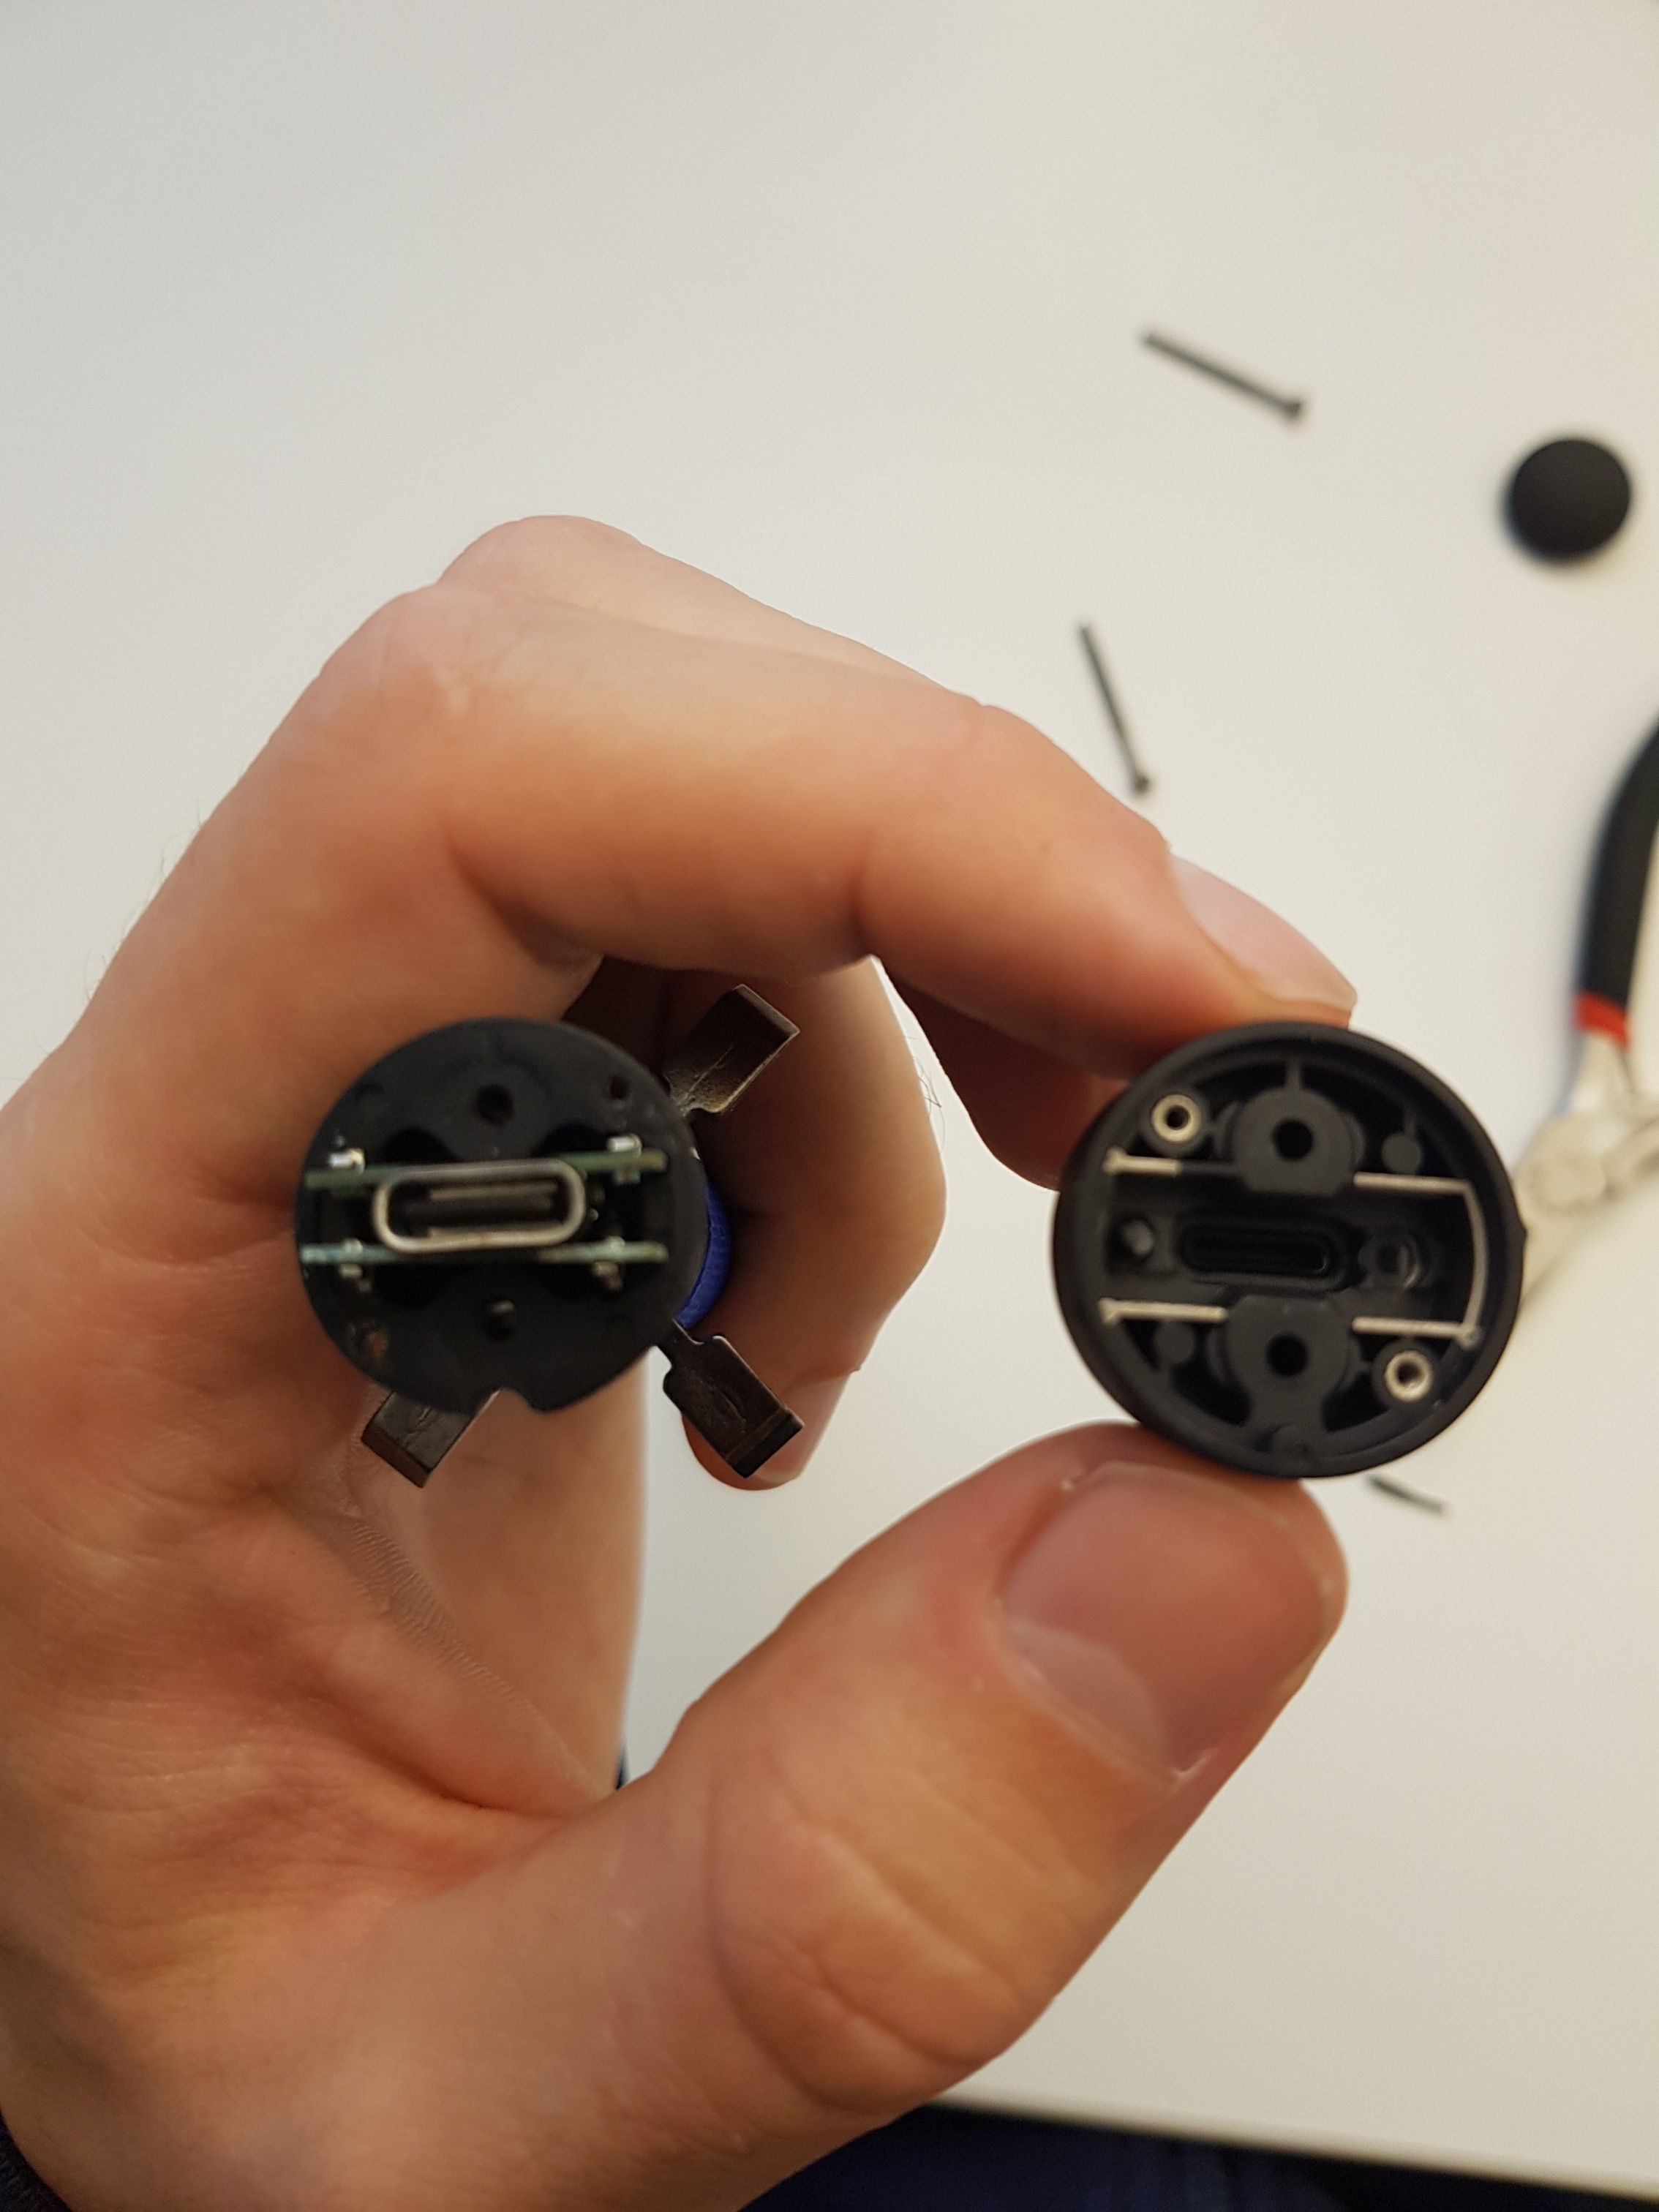
3. Further on you gently remove the Bikefinder's antenna head. Be careful.
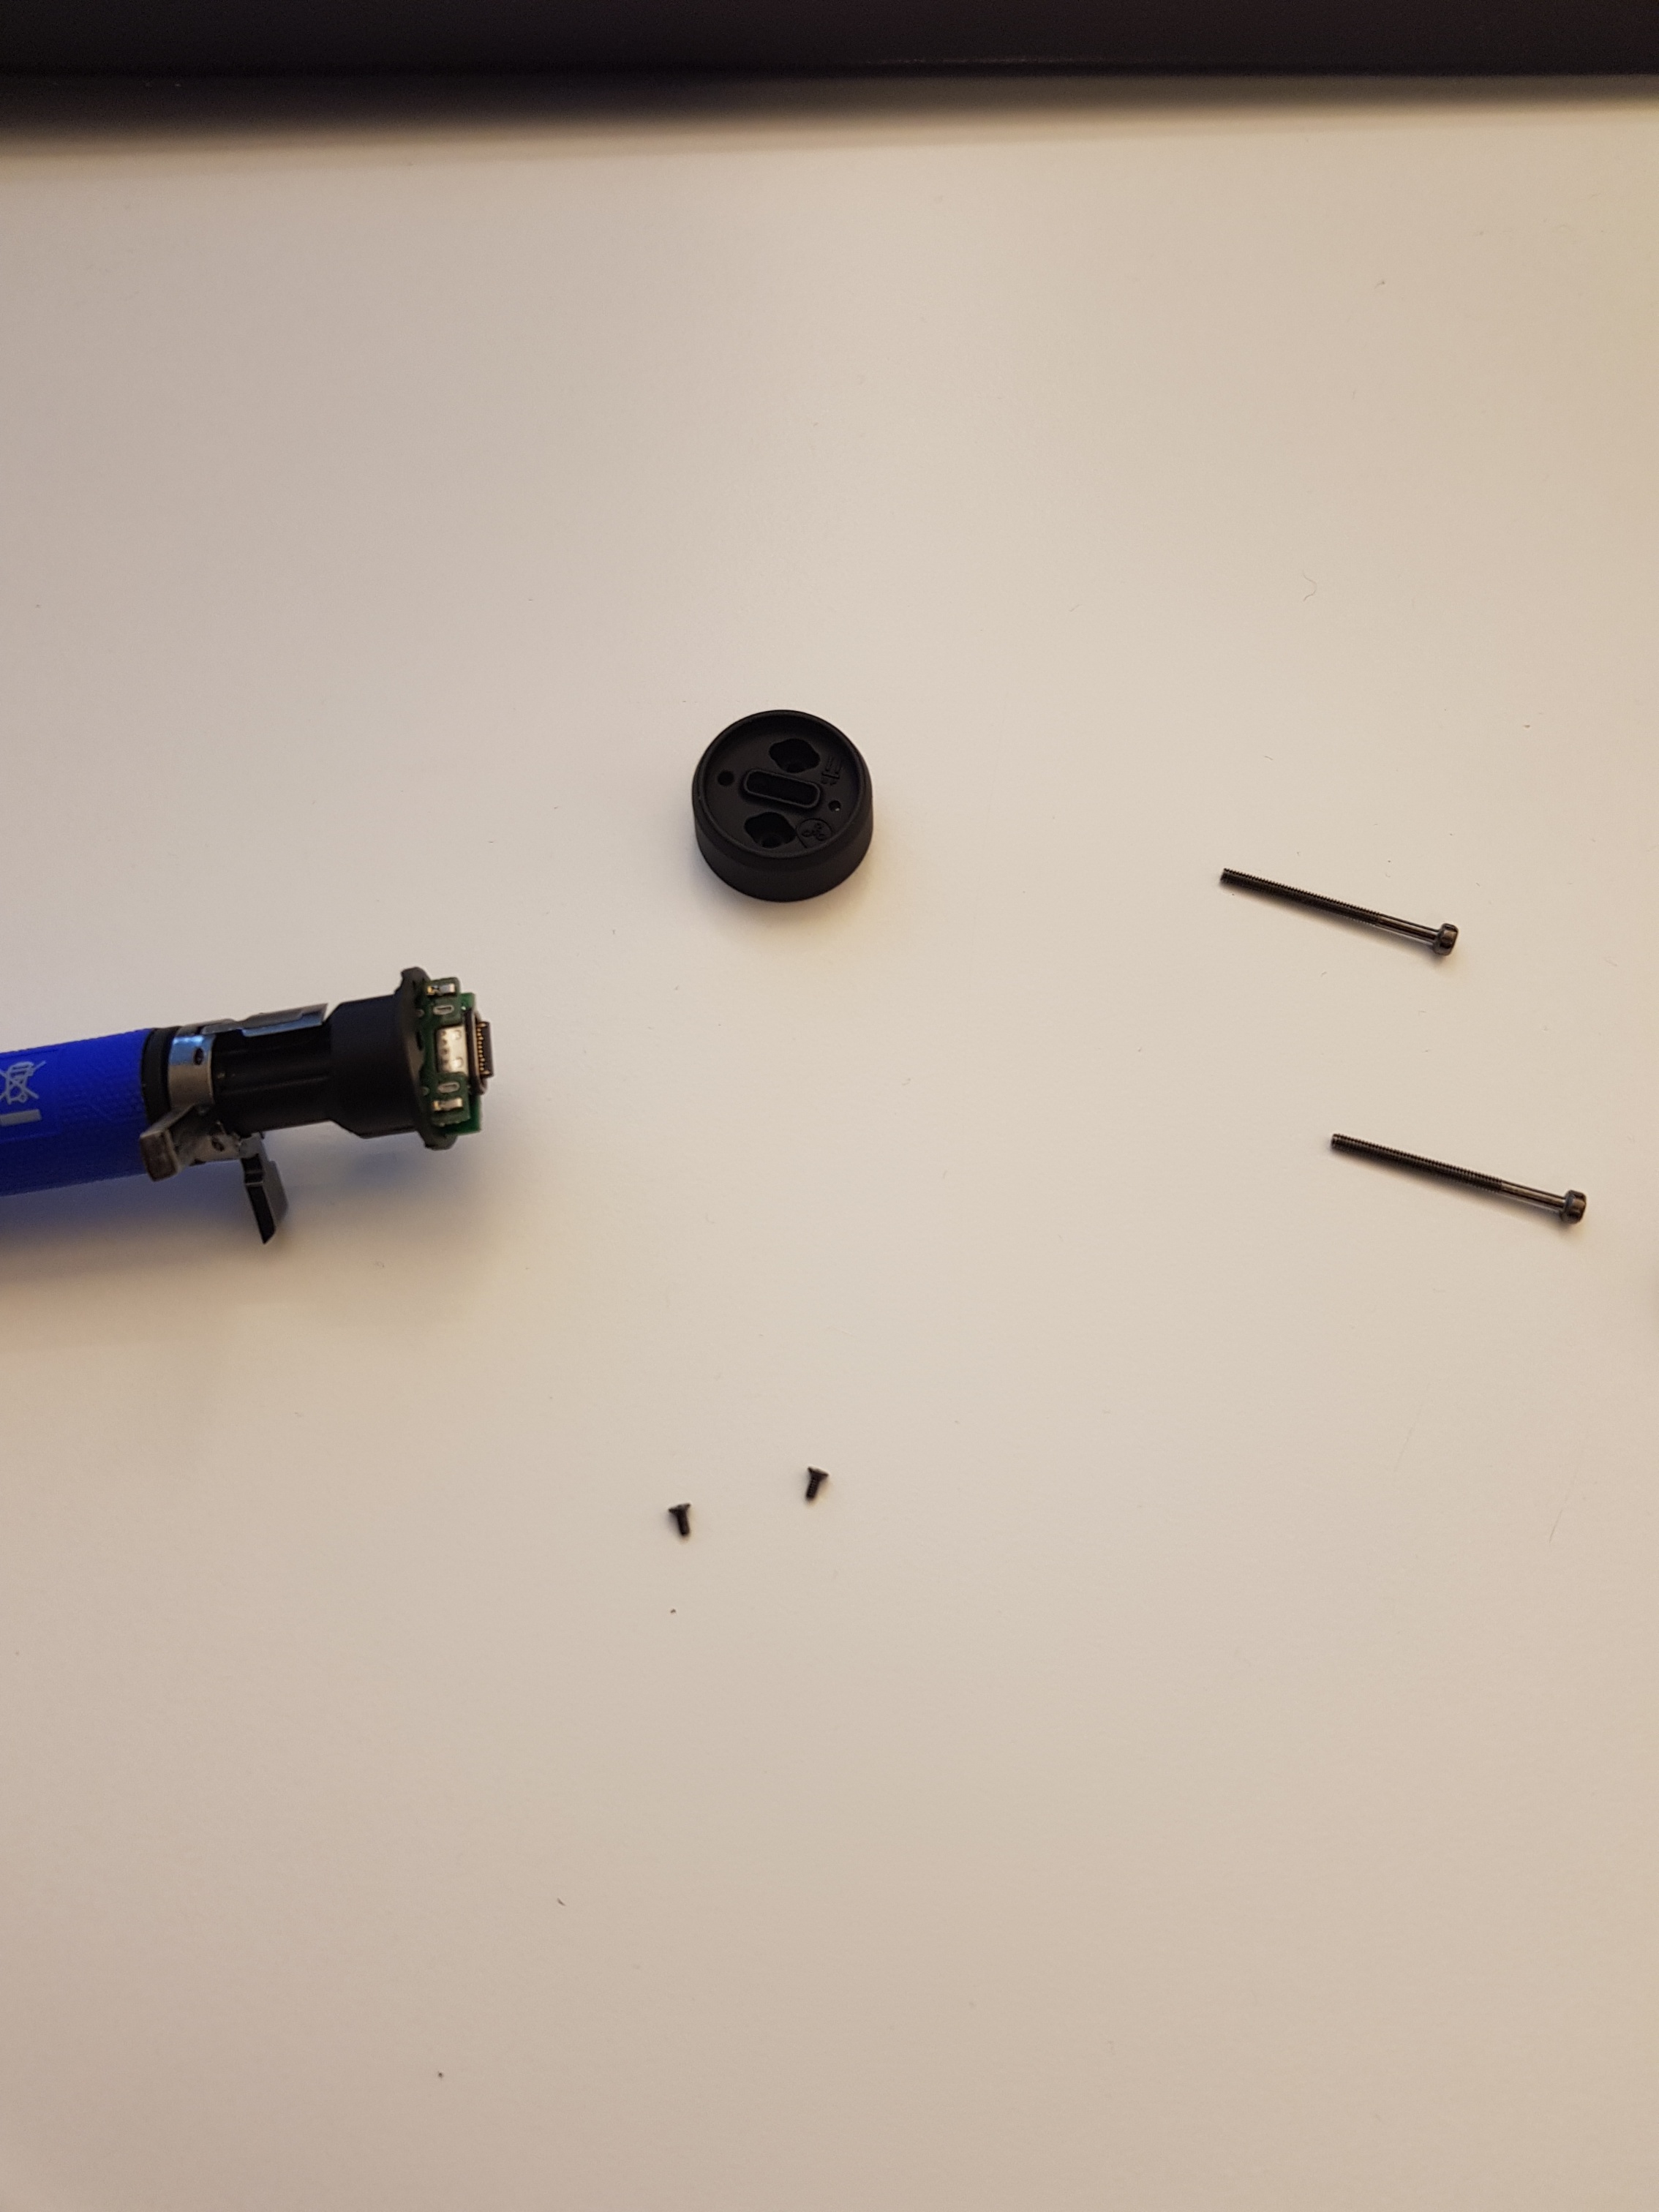
4. Put the new USB-cover in the hole that is placed on the head of the Bikefinder, and then drag it through.
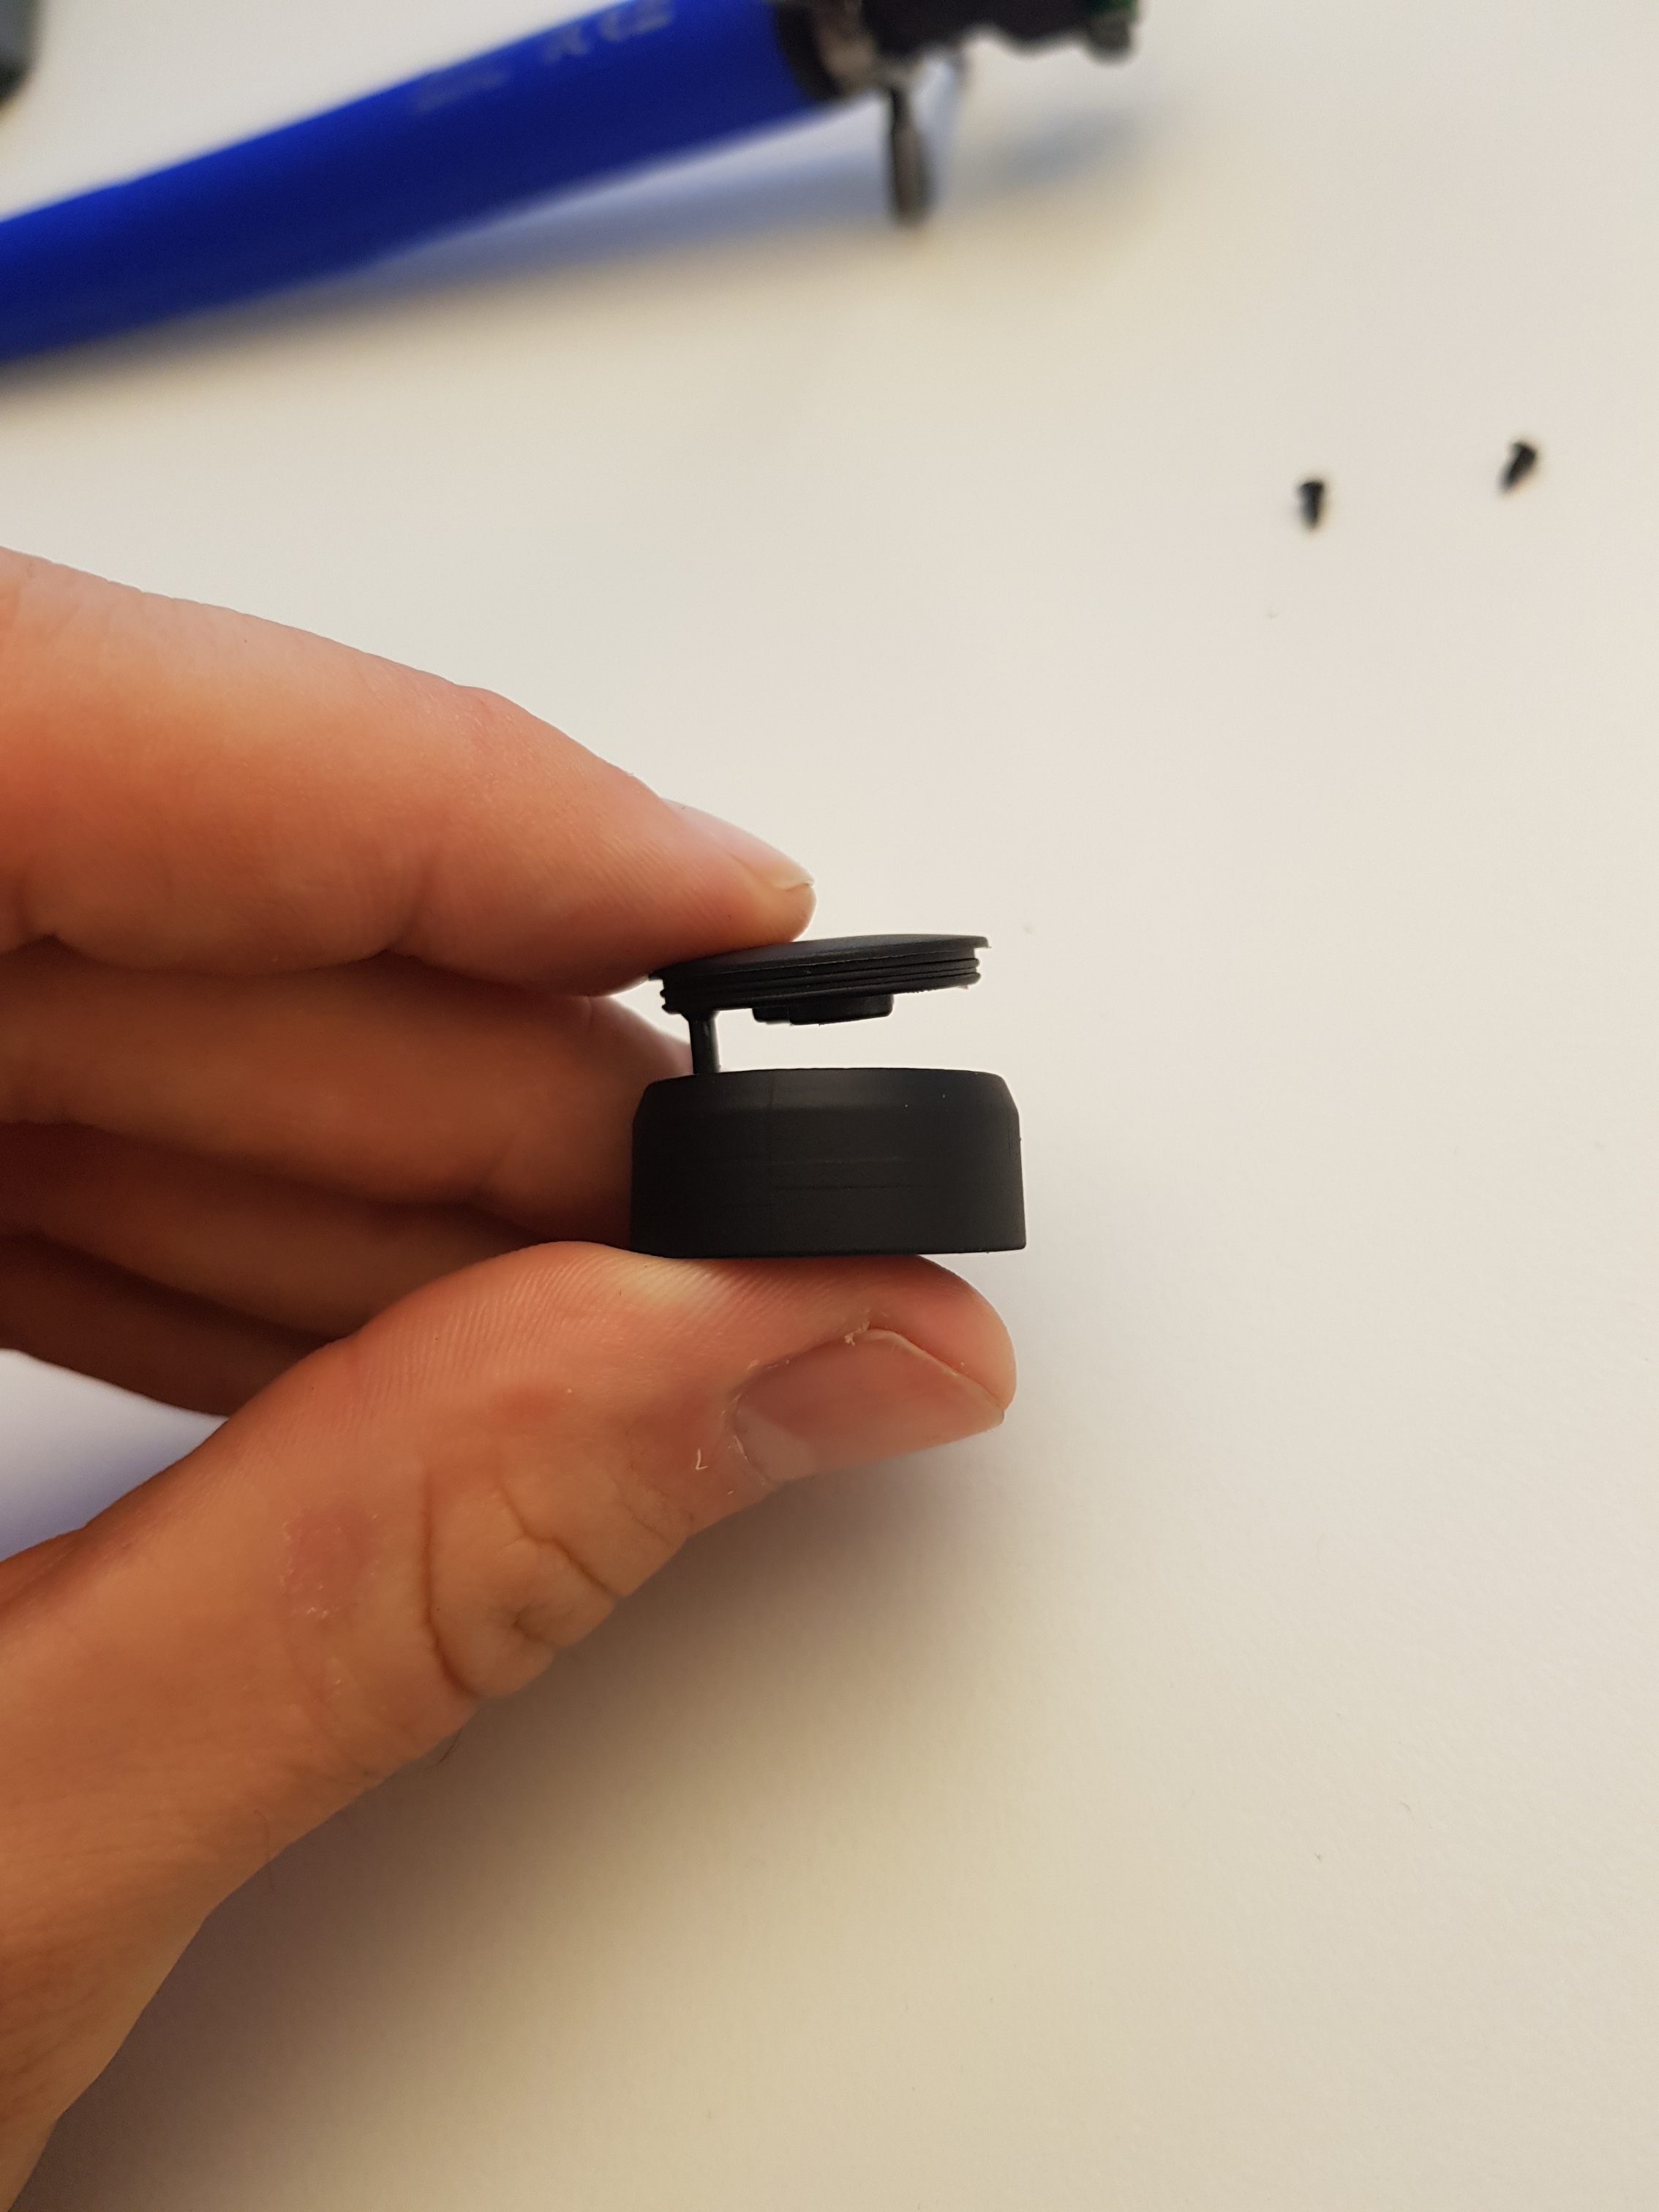
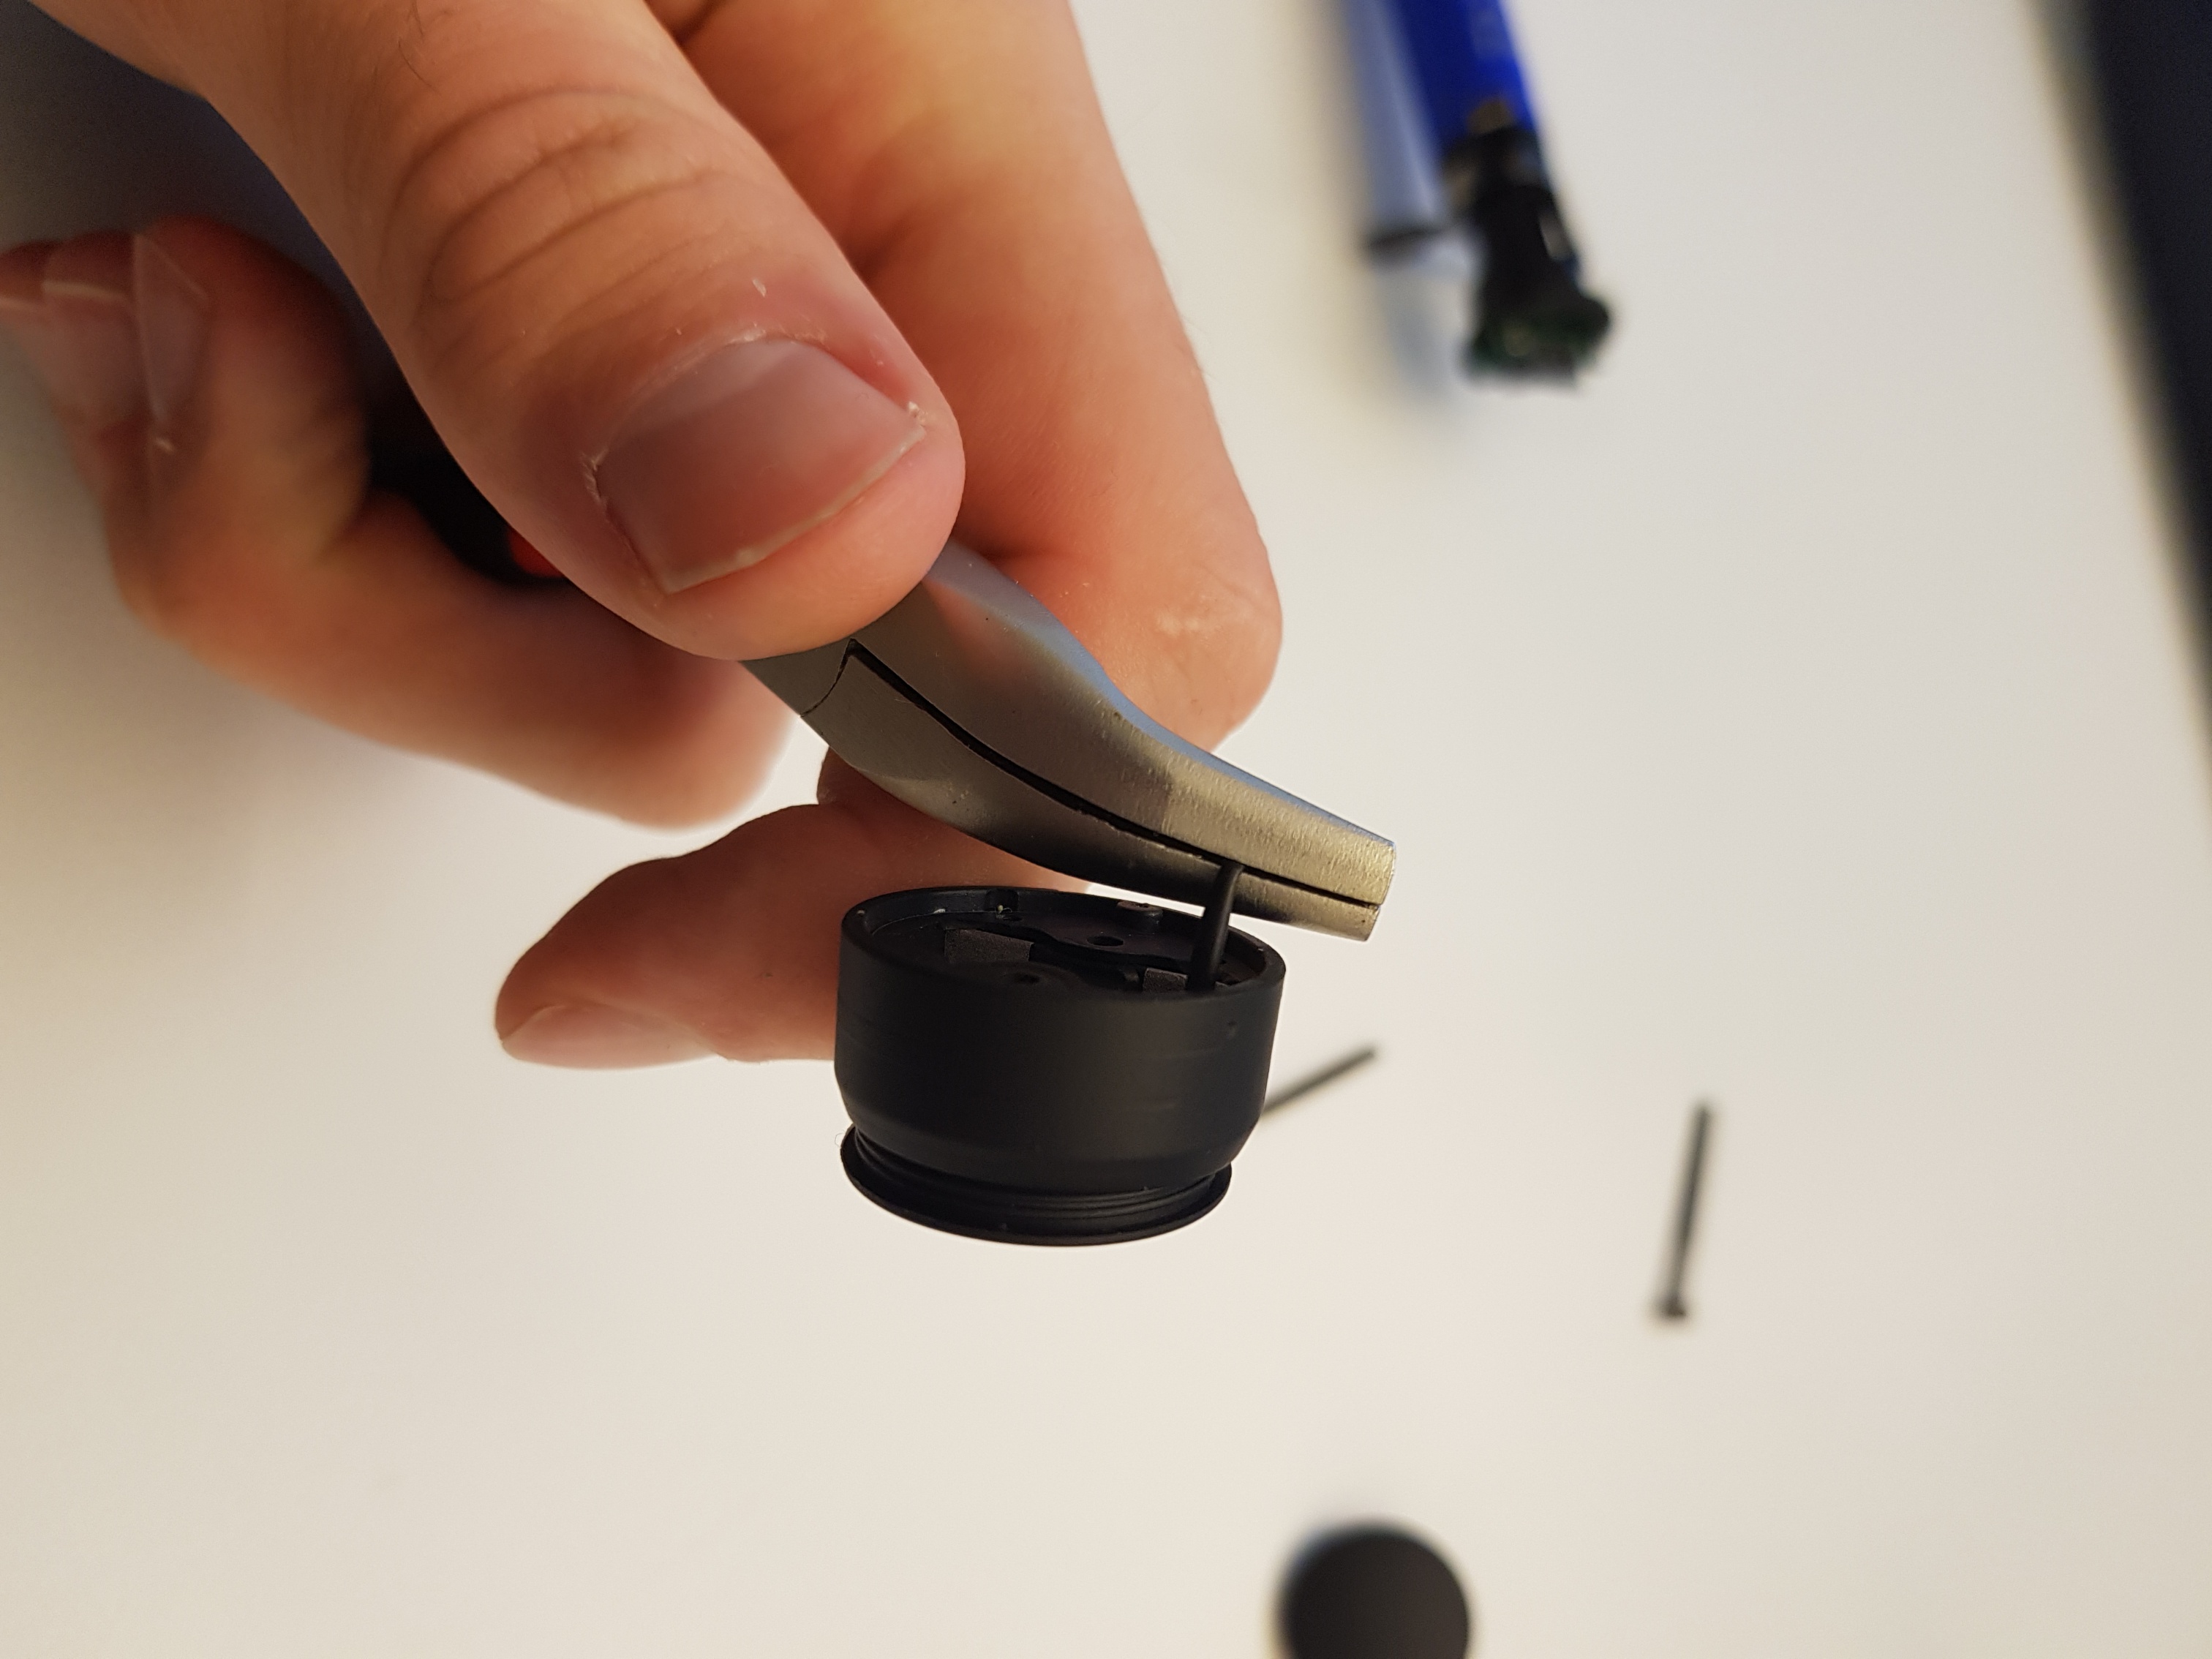
5. You then cut off the black end sticking out, as shown on the picture above.
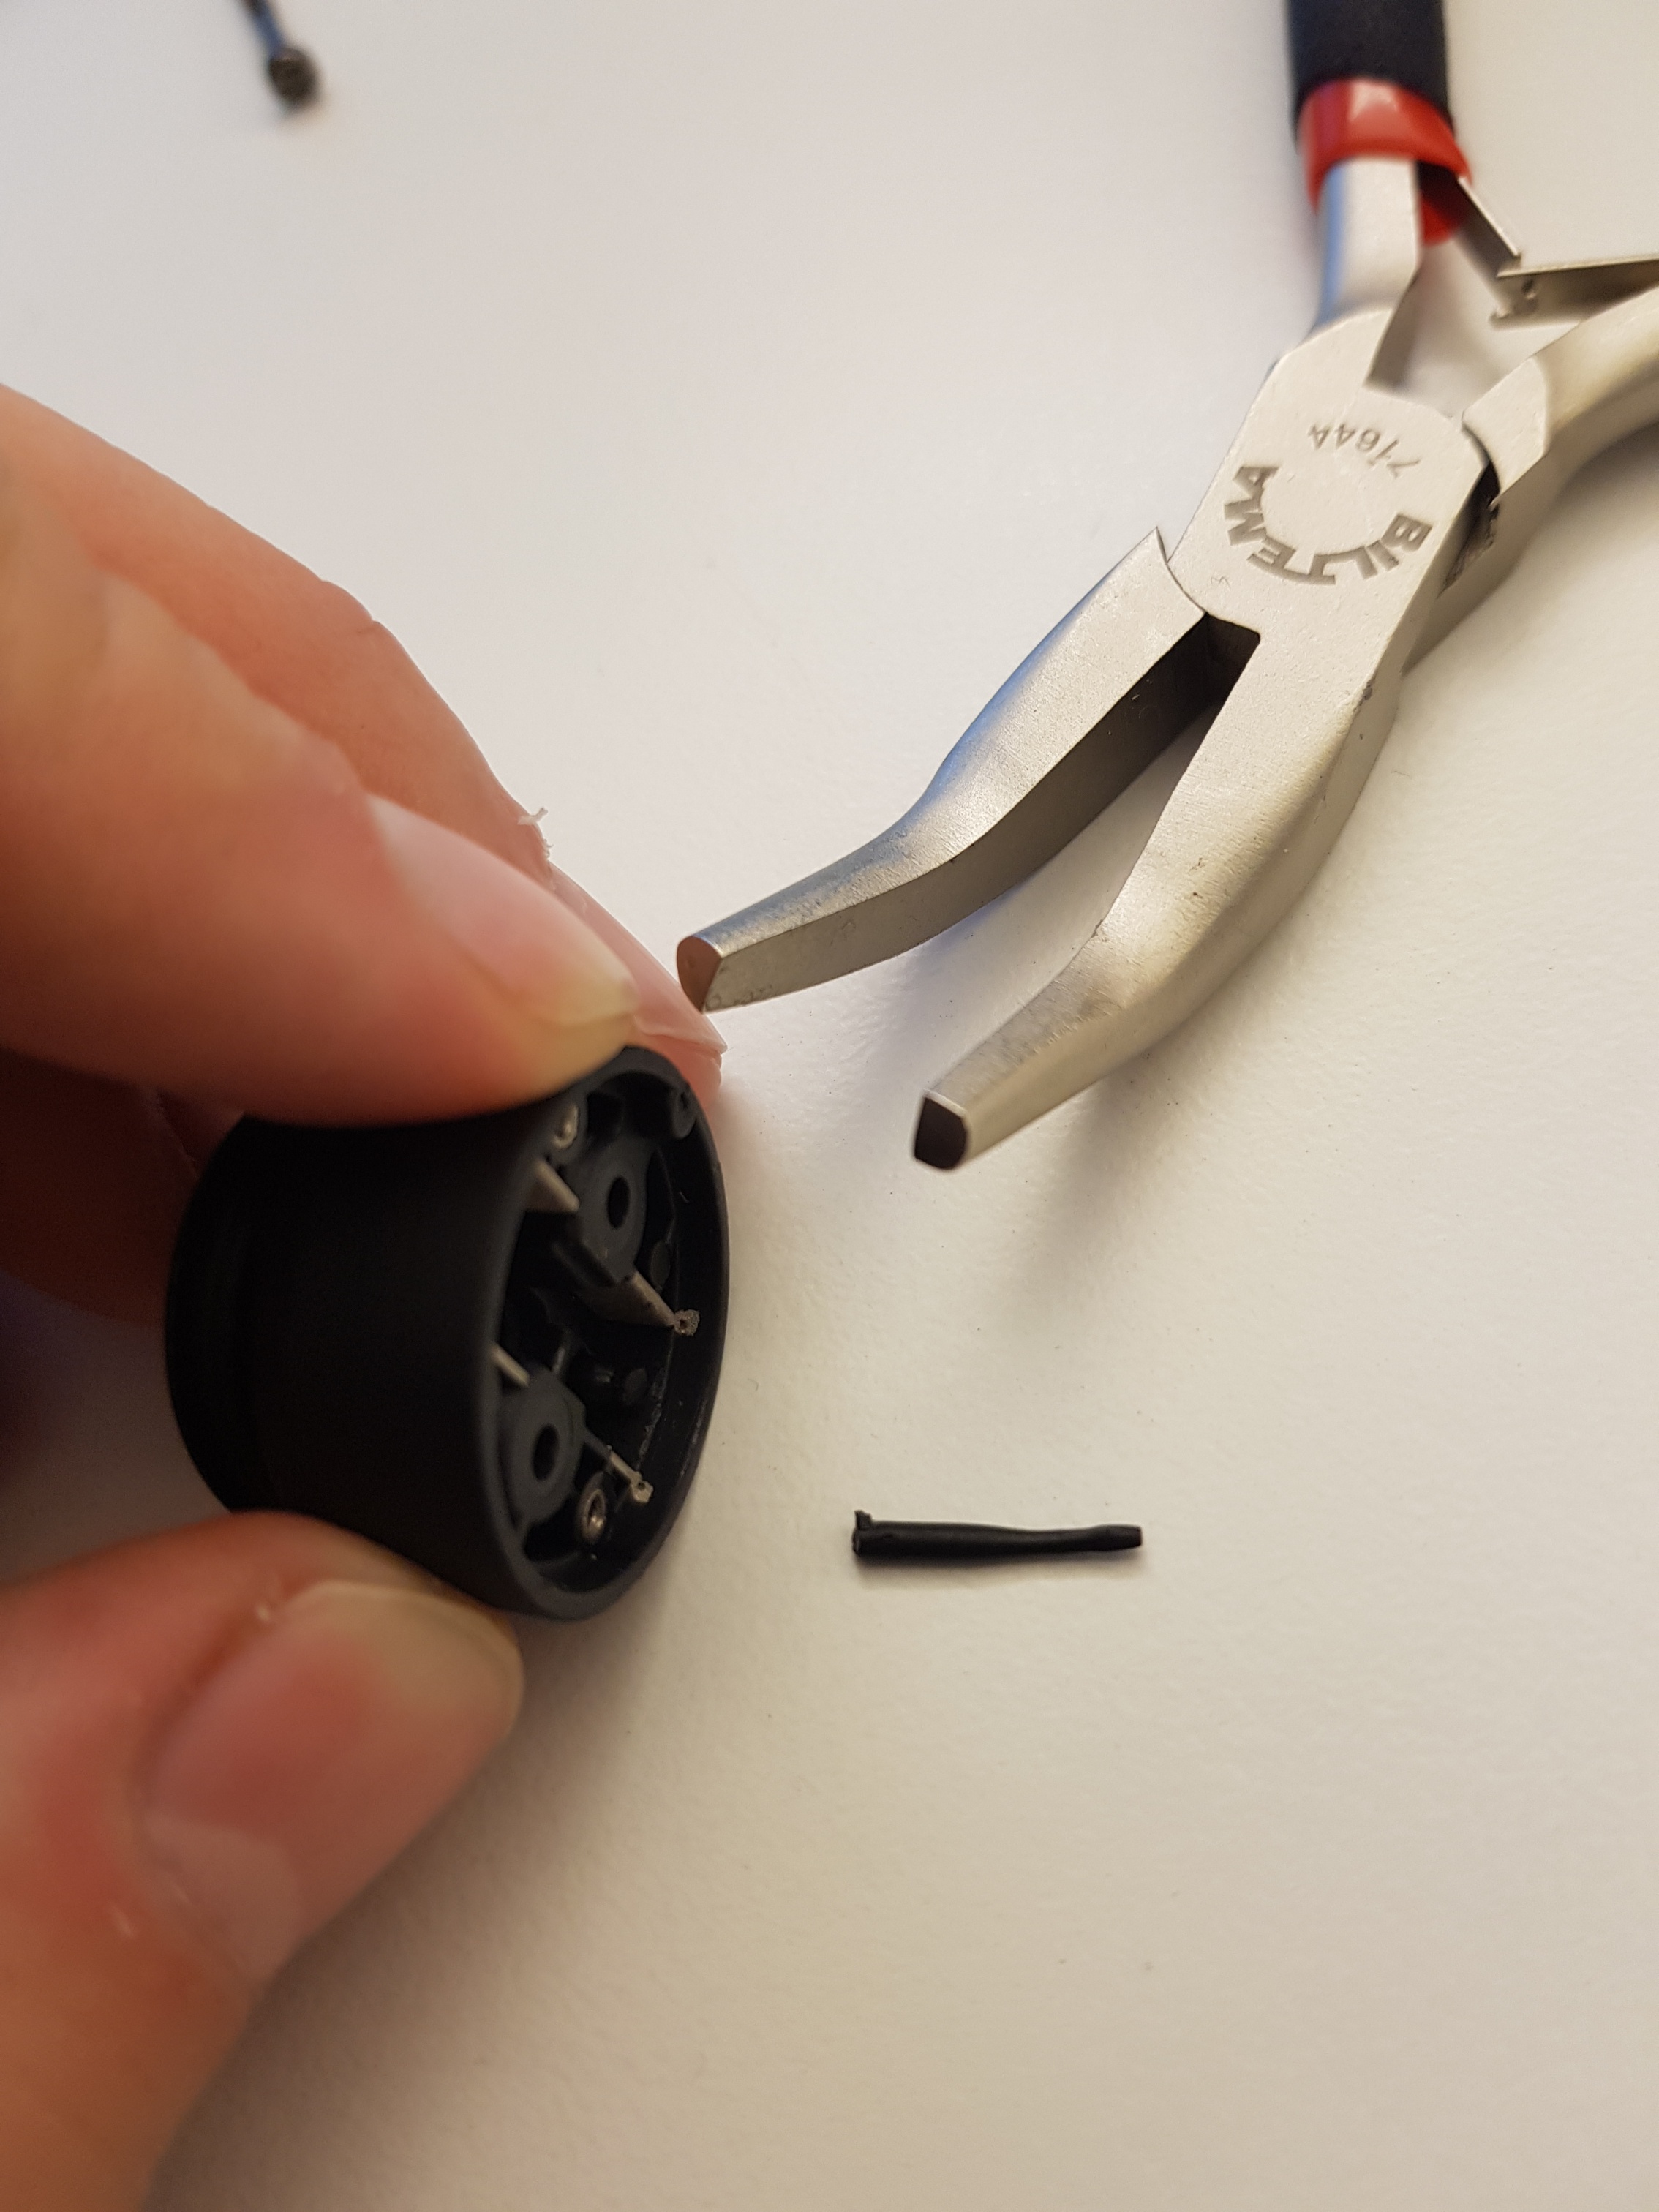
6. After this is done, you can reassemble the Bikefinder.

Was this article helpful?
That’s Great!
Thank you for your feedback
Sorry! We couldn't be helpful
Thank you for your feedback
Feedback sent
We appreciate your effort and will try to fix the article